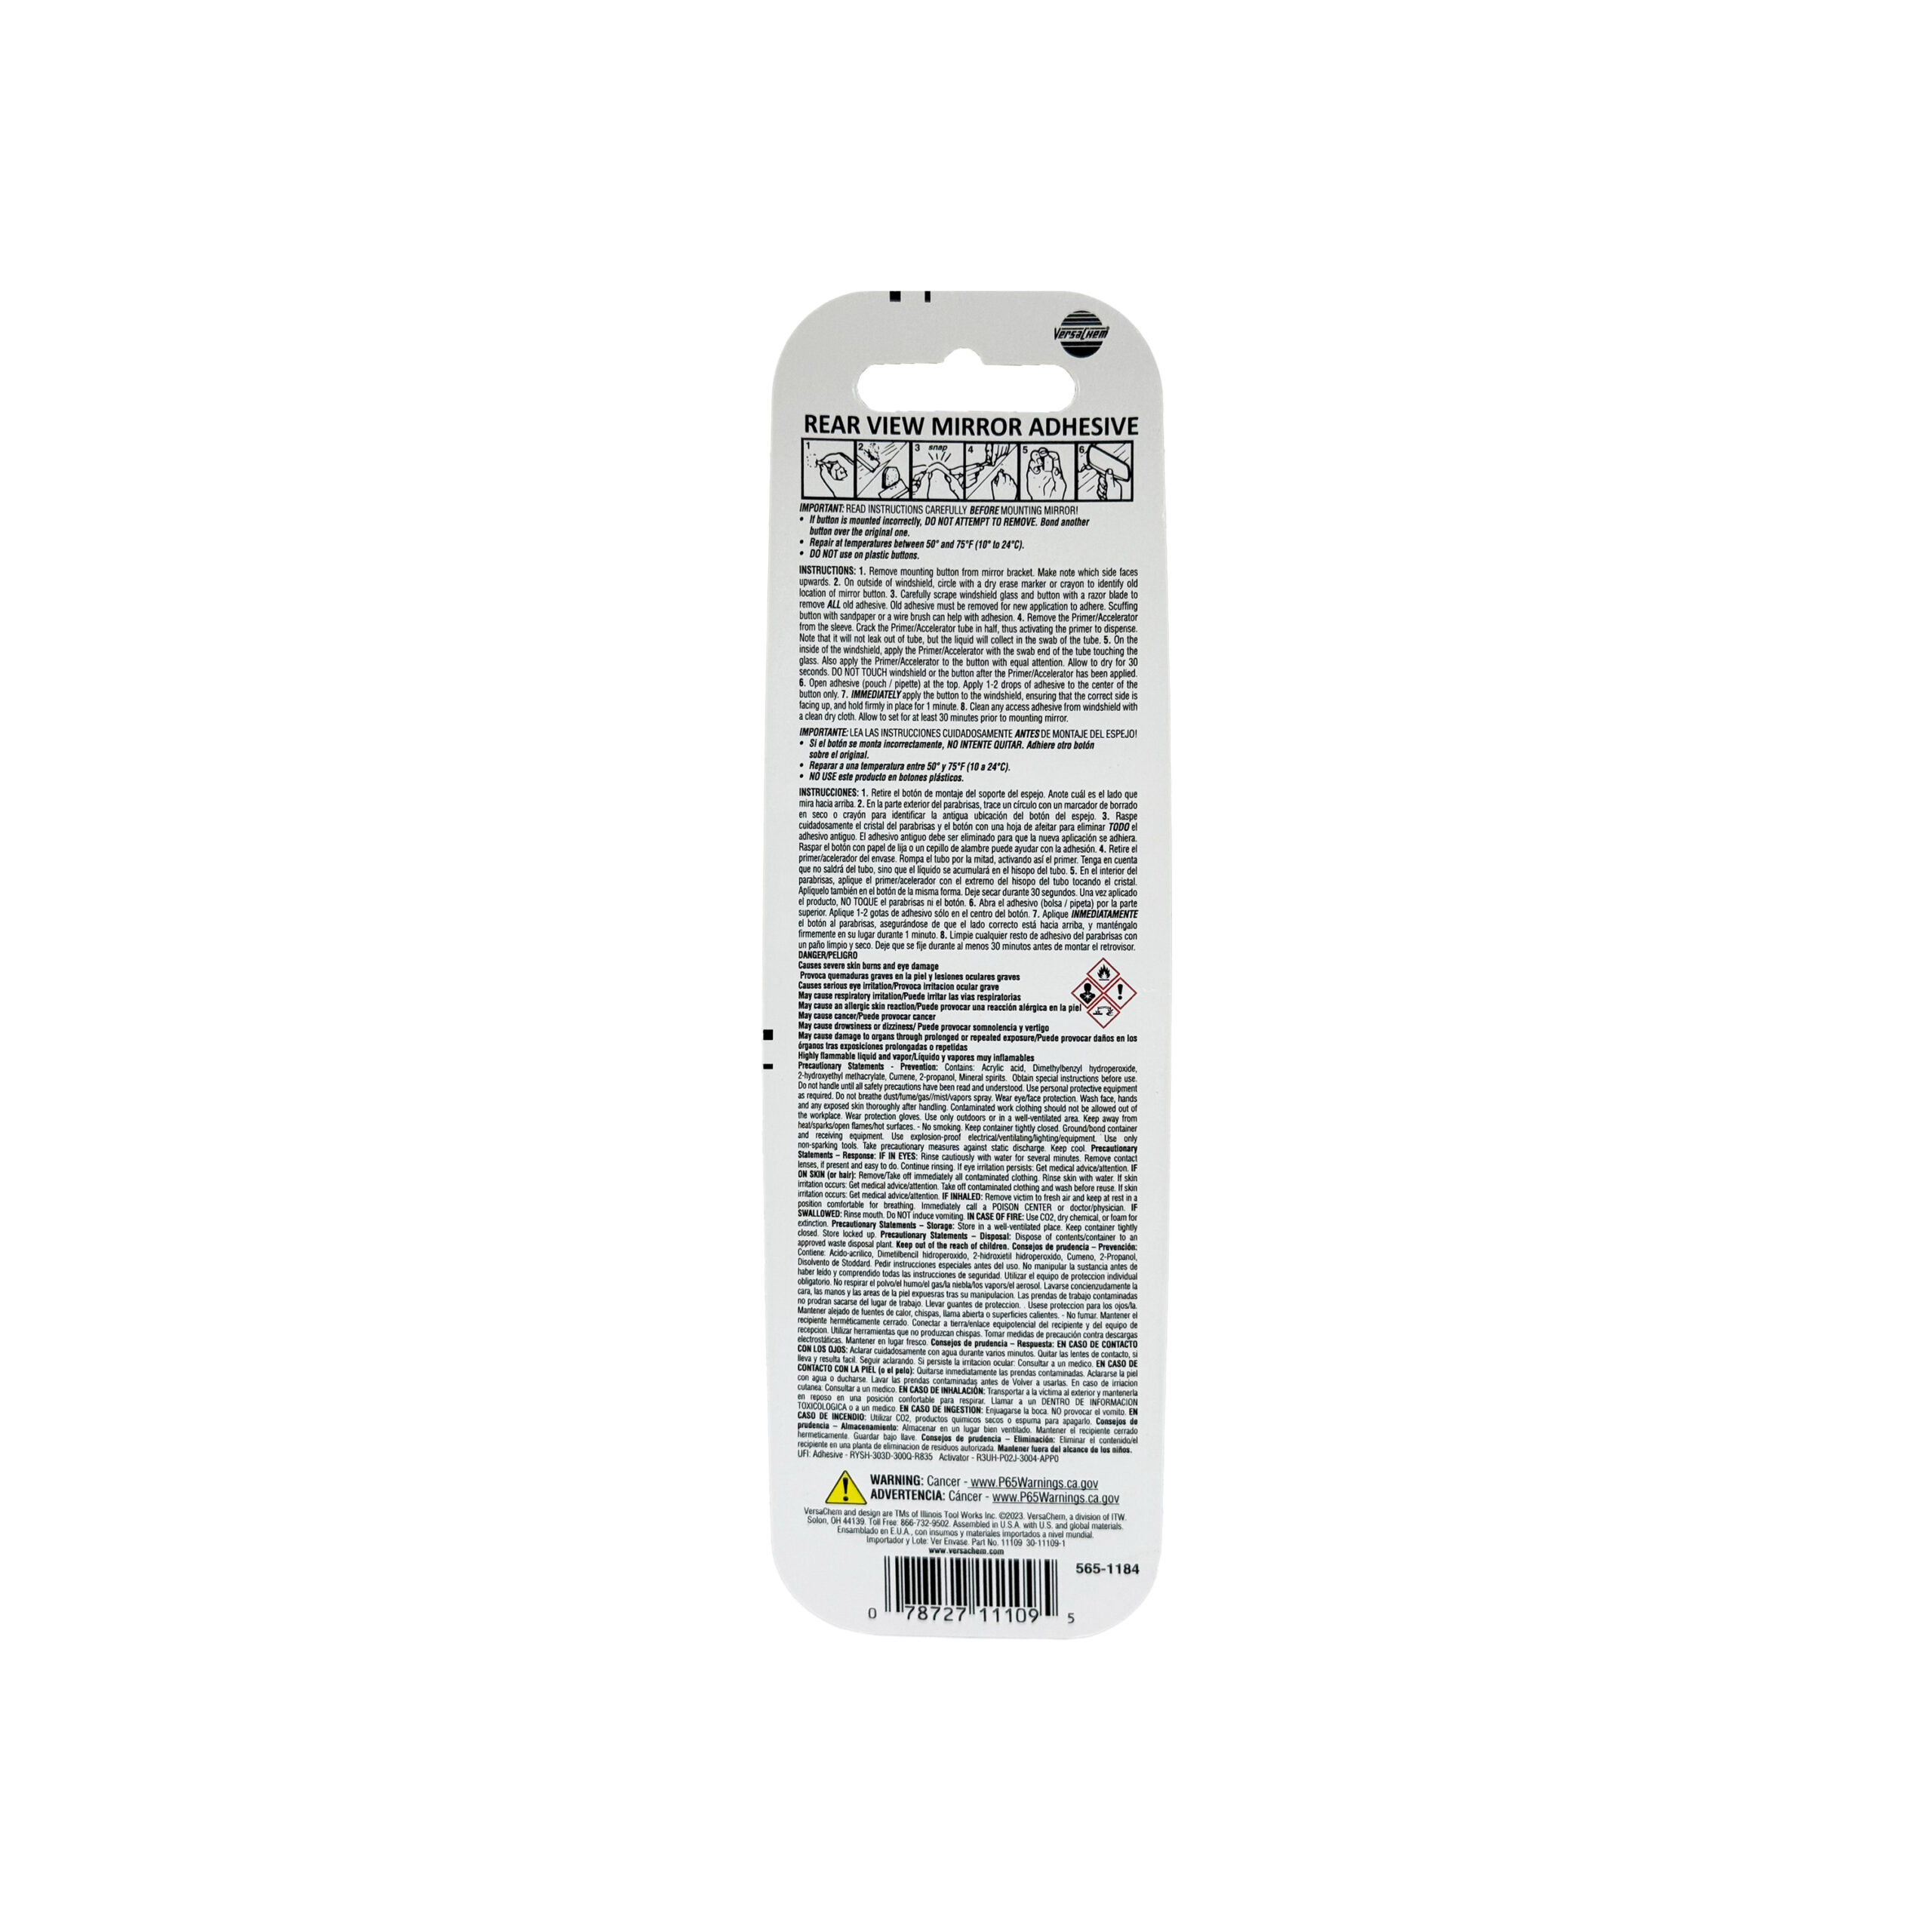
Remove the mounting button from the mirror bracket, making note of which side faces upwards.
Mark the spot where the button was mounted on the outside of the windshield using a crayon or felt-tip marker to use as a guide.
Scrape all old adhesive off both the windshield’s inside surface and the mounting button using a safety razor blade. All old adhesive must be completely removed for the new application to adhere properly.
Sand the button’s mounting surface gently using fine-grit sandpaper or a wire brush on a flat, hard surface to scuff it for better adhesion.
Clean and prime both surfaces (the marked area on the inside of the windshield and the back of the metal button) with the Cleaner/Activator Towelette provided in the kit.
Open the towelette packet and use the attached towelette to thoroughly clean and prime both areas.
Allow the activator to dry for at least 1 minute. Do not touch either surface after applying the activator.
Apply 1-2 drops of the adhesive to the center of the button only. Applying too much can result in a weak bond or messy squeeze-out.
Immediately apply the button to the windshield at the marked location, ensuring the correct side is facing up.
Hold firmly in place against the glass for at least 1 minute or until the adhesive sets. Slight movement during this time can cause a weak bond.
Allow the adhesive to set for at least 30 minutes before remounting the actual mirror onto the button.
Clean any excess adhesive from the windshield with a clean, dry cloth or an alcohol-saturated cloth