Preparation
Remove Old Material: Scrape off all old gasket material and sealant from the mating surfaces. A Gasket Remover product is recommended for most materials.
Clean and Dry: For the best seal, thoroughly clean and dry all surfaces using a residue-free solvent, such as Permatex Brake and Parts Cleaner.
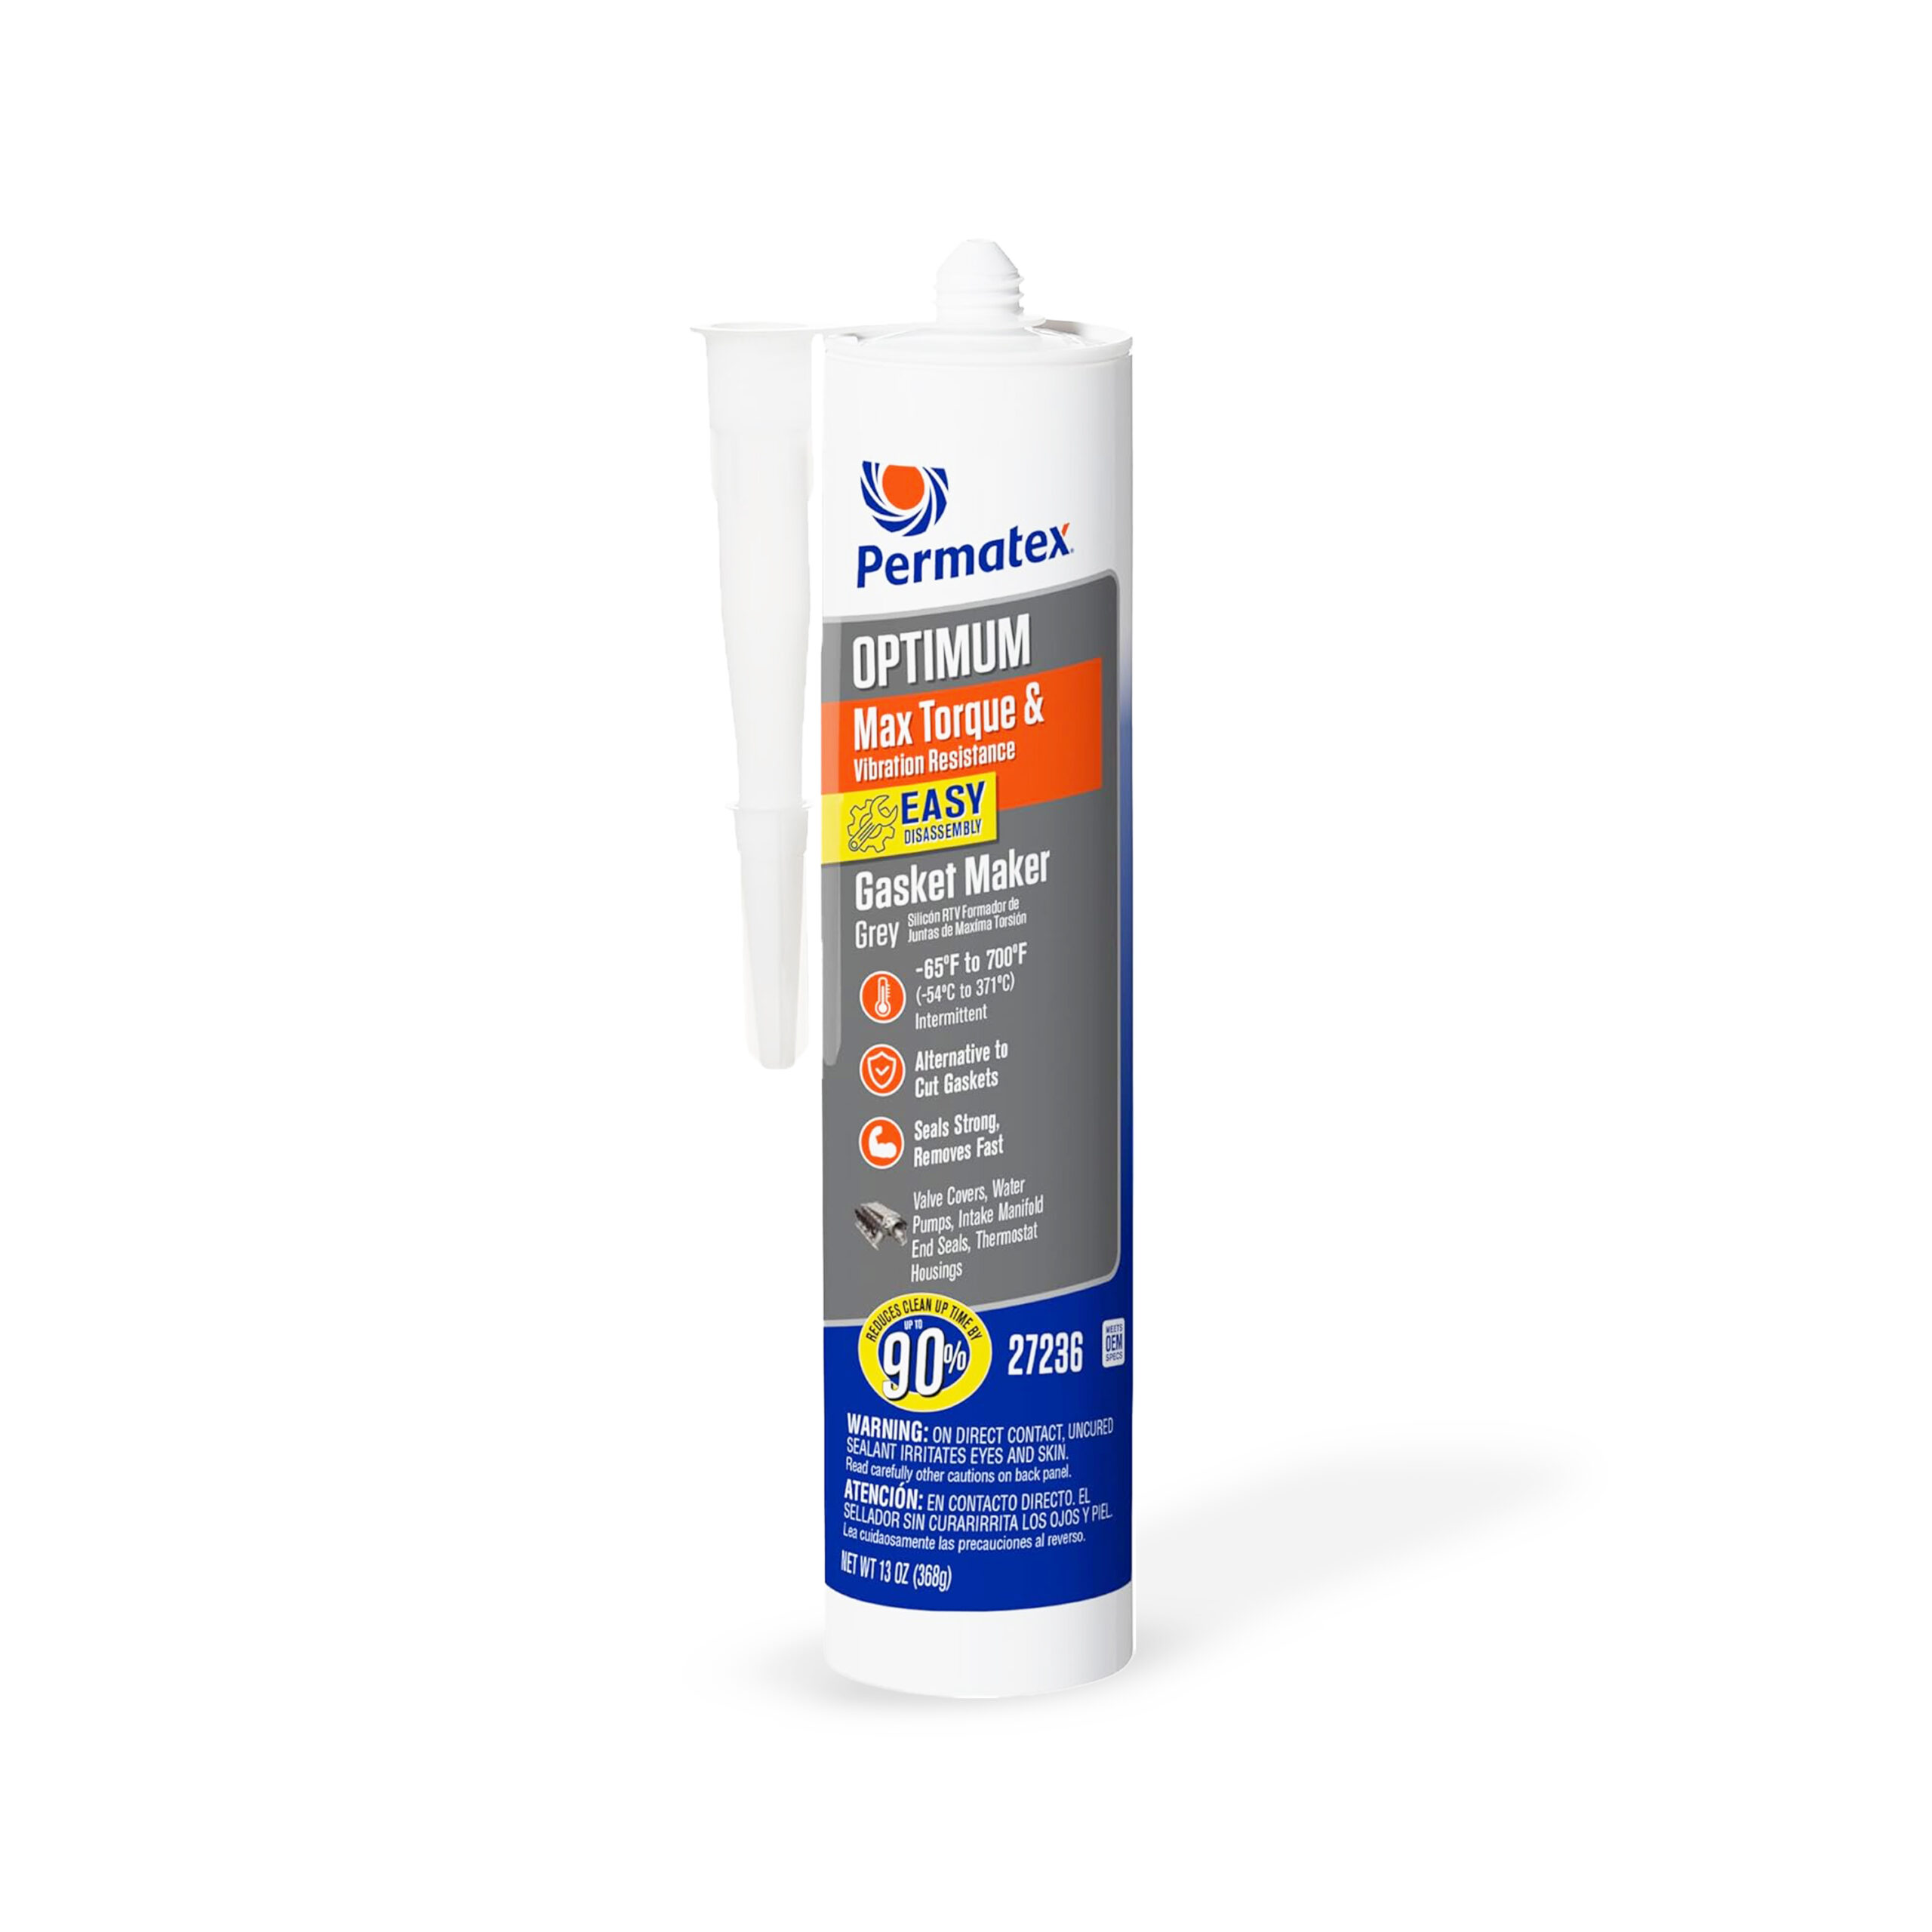
Prepare Nozzle: Cut the extension nozzle to the desired bead size, typically a 1/16″ to 1/4″ bead, with 1/8″ being sufficient for most applications.
Application and Assembly
Apply Gasket Maker: Apply a continuous and even bead of silicone to one of the surfaces, tracing the internal areas first and ensuring all bolt holes are encircled.
Avoid Excess: Apply just enough material to create a seal; excessive material can squeeze out into the assembly and cause issues.
Assemble Immediately: Assemble the parts immediately while the silicone is still wet.
Finger Tighten: Finger tighten the bolts only until the material begins to slightly seep out the sides of the flange.
Curing and Final Steps
Initial Set Time: Allow the assembly to set for one hour.
Torque Fasteners: After one hour, use a torque wrench to tighten all fasteners to the manufacturer’s recommended torque specifications in a star pattern. Re-torquing after the product has cured will not be necessary.
Full Cure Time: Allow a full 24 hours for the gasket maker to completely cure before filling with fluids or returning the vehicle to service. Cure times will vary with temperature, humidity, and the size of the gap.
Cleanup: Uncured product can be removed with an old rag or Permatex Fast Orange Wipes. Cured material can be removed with a Gasket Remover or by peeling it away.