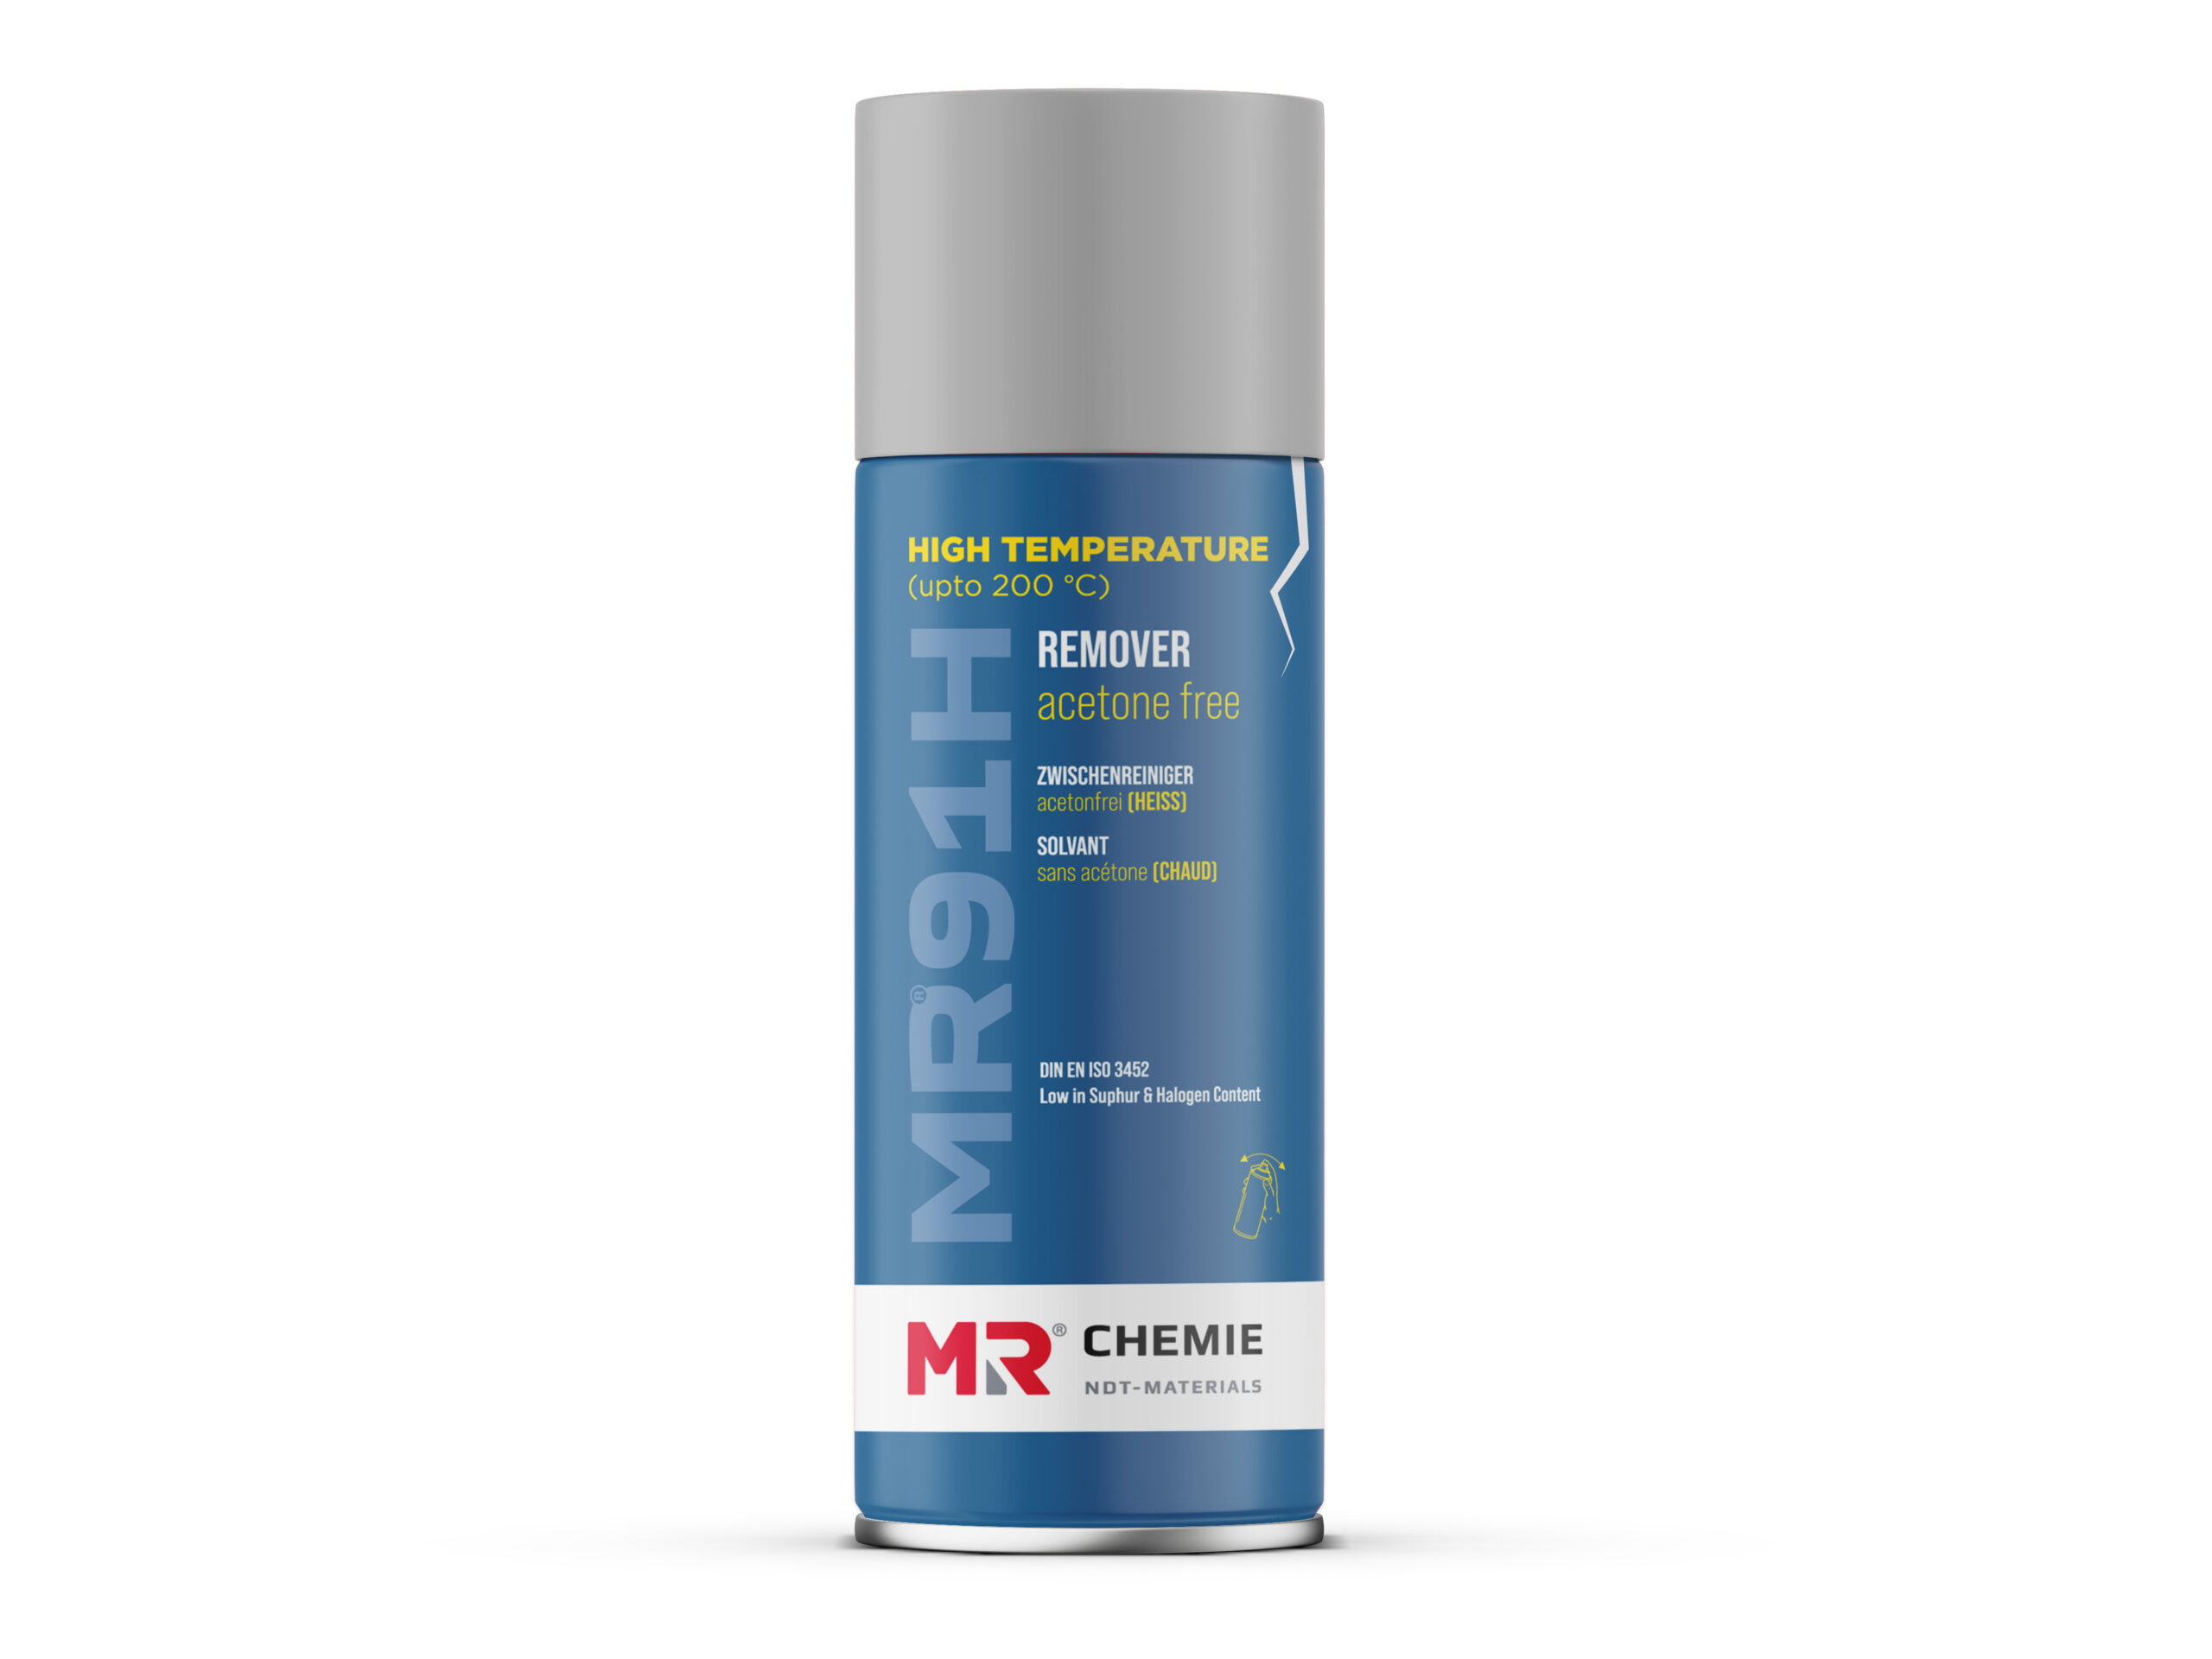
Step 1: Pre-Cleaning (Preparing the Hot Surface)
Before applying any penetrant, you must remove oil, grease, scale, and slag from the hot inspection area.
1. Spray the cleaner directly onto the hot test surface.
2. Wipe immediately with a clean, lint-free cloth to lift away contaminants before the solvent fully evaporates.
3. Allow to dry for a few seconds. The heat from the part will rapidly flash off any remaining solvent residue.
Step 2: Apply the Penetrant
1. Spray a uniform layer of high-temperature penetrant (such as MR® 68H) onto the dry, pre-cleaned area.
2. Allow the penetrant to sit (dwell time) for the duration specified by your inspection protocol (typically 5 to 10 minutes depending on the temperature).
Step 3: Remove Excess Penetrant (Critical Step)
⚠️ Never spray the cleaner directly onto the hot surface during this step. Doing so will wash the penetrant out of the cracks, ruining the test.
1. Moisten a clean, lint-free cloth by spraying MR® 91H directly onto the cloth.
2. Gently wipe the hot surface with the damp cloth to clean off the excess penetrant on the surface.
3. Repeat with fresh cloths until the surface background color is gone, leaving penetrant trapped only inside the defects.
Step 4: Developing
1. Shake your high-temperature developer (such as MR® 70H) thoroughly.
2. Spray a thin, even, white layer over the inspection area.
3. Watch for the red penetrant to bleed through the white developer, indicating the exact location of cracks or defects.