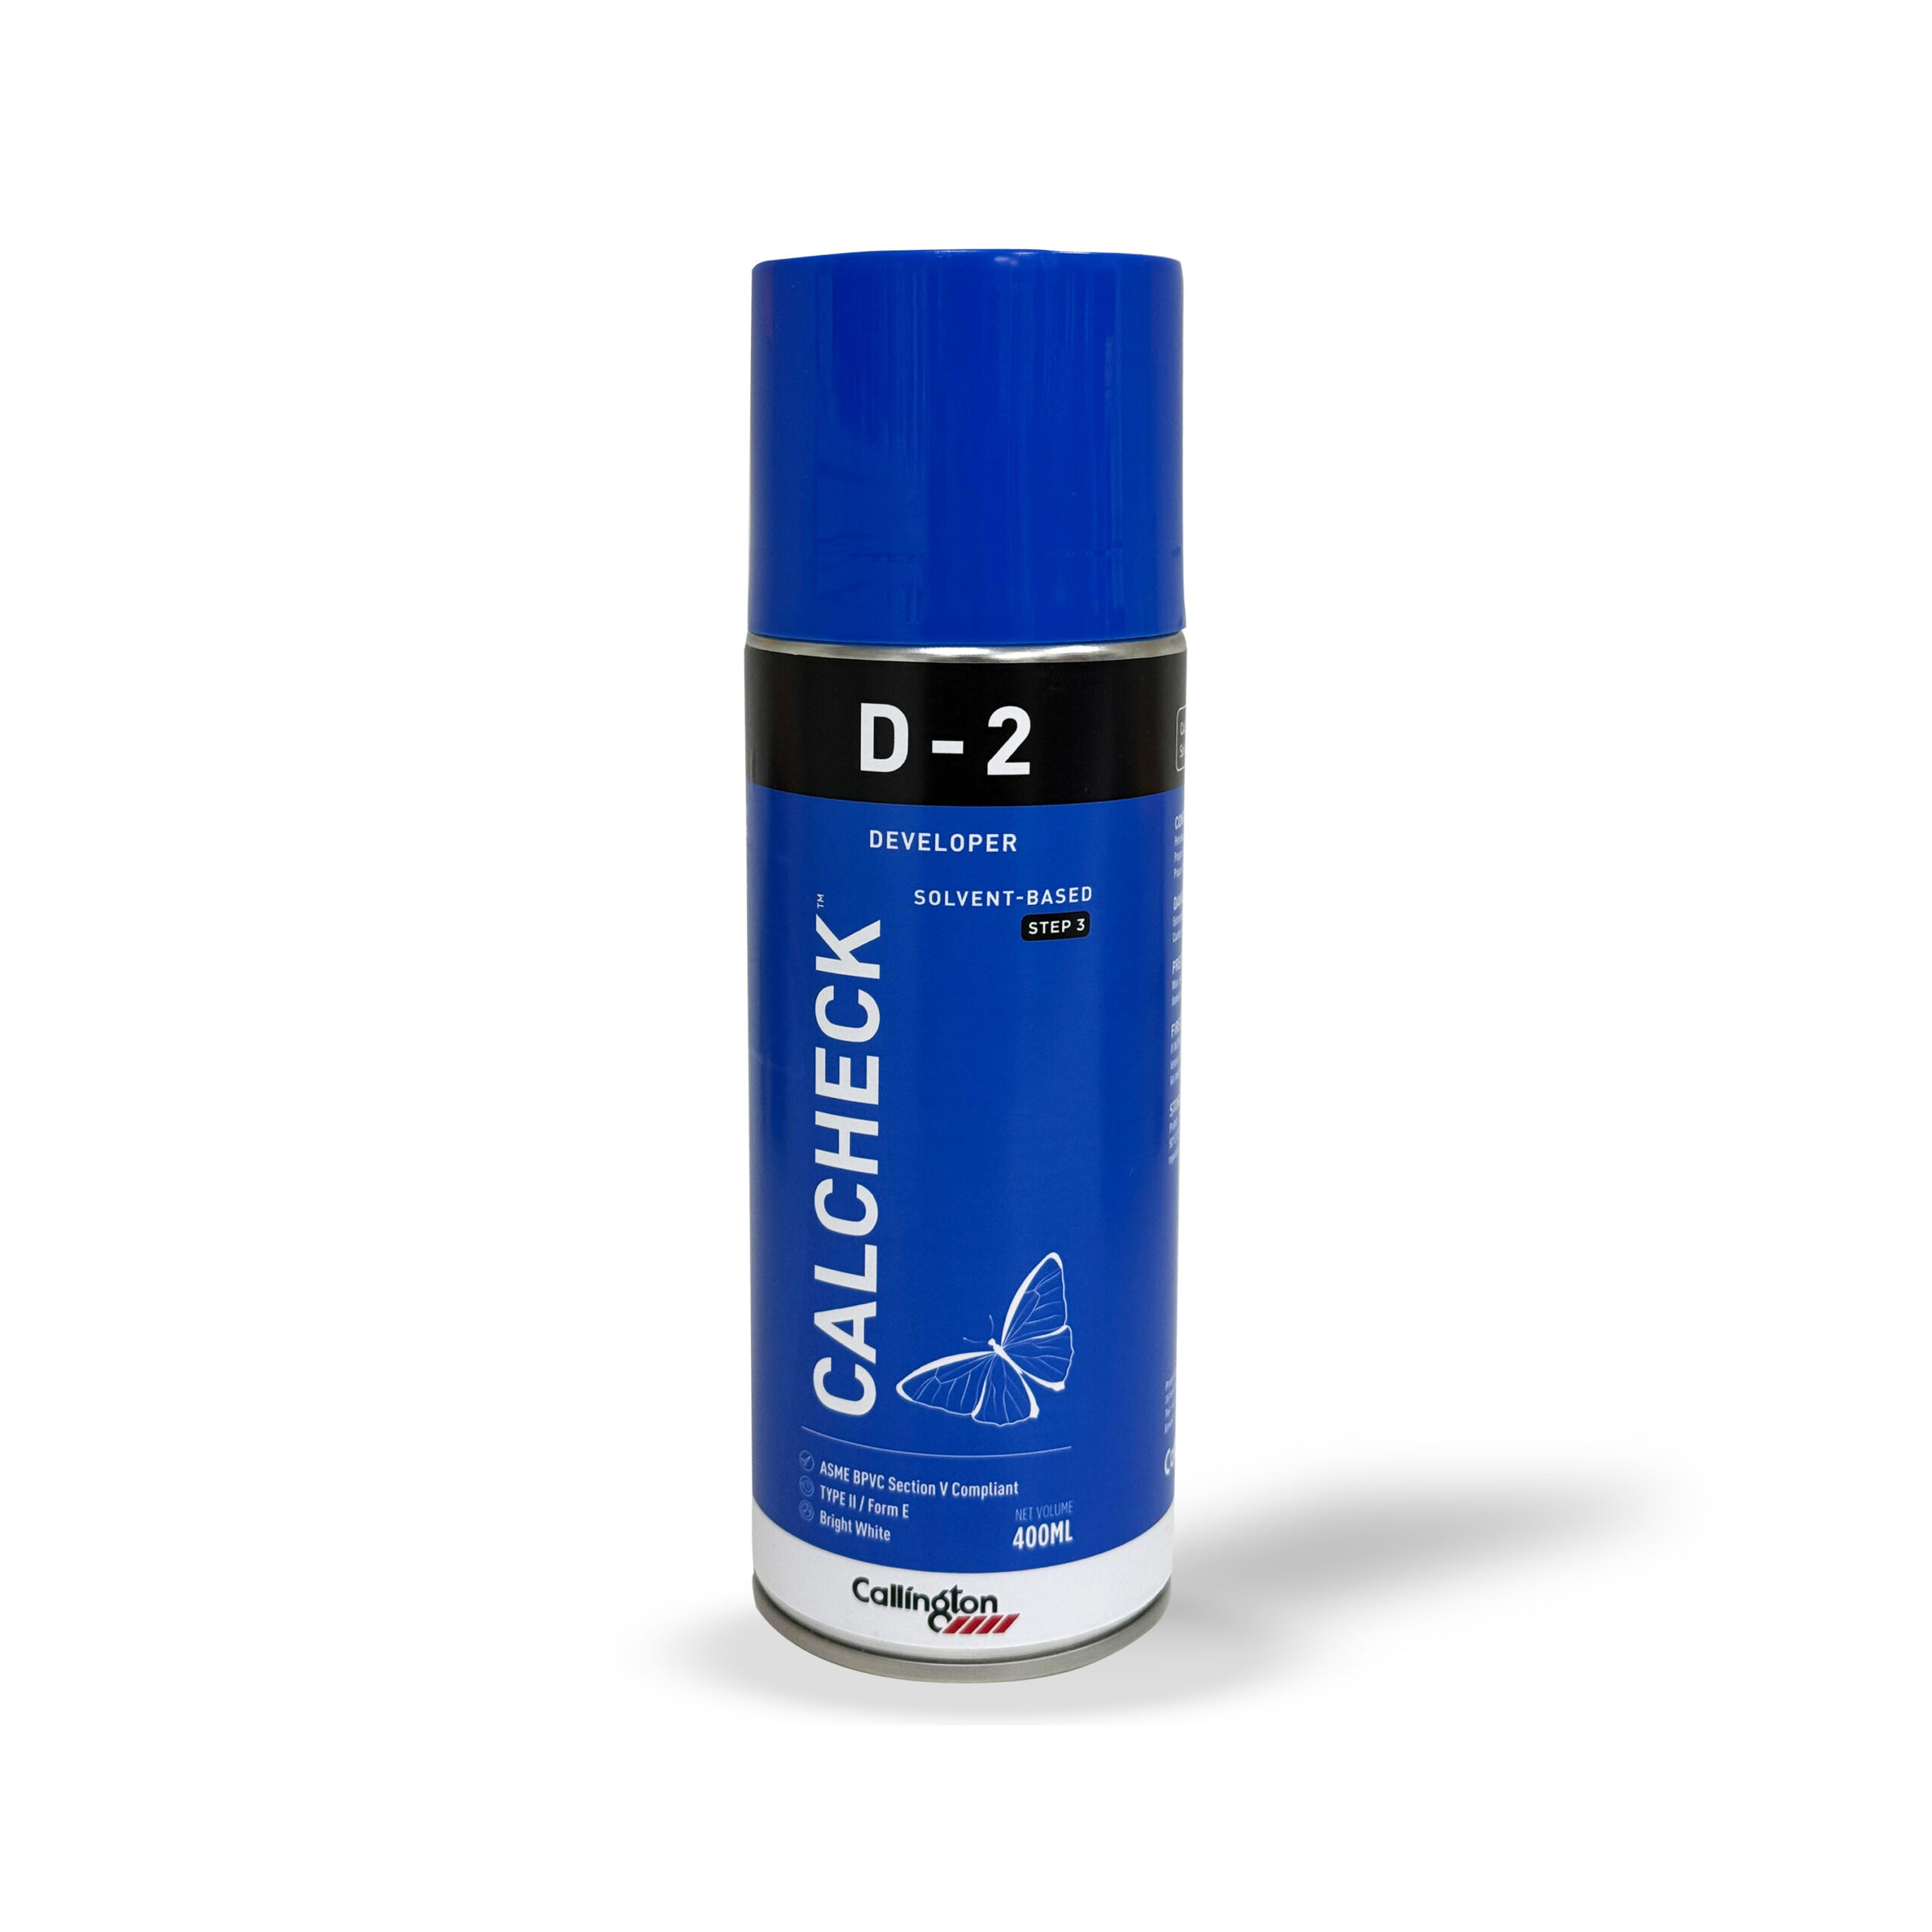
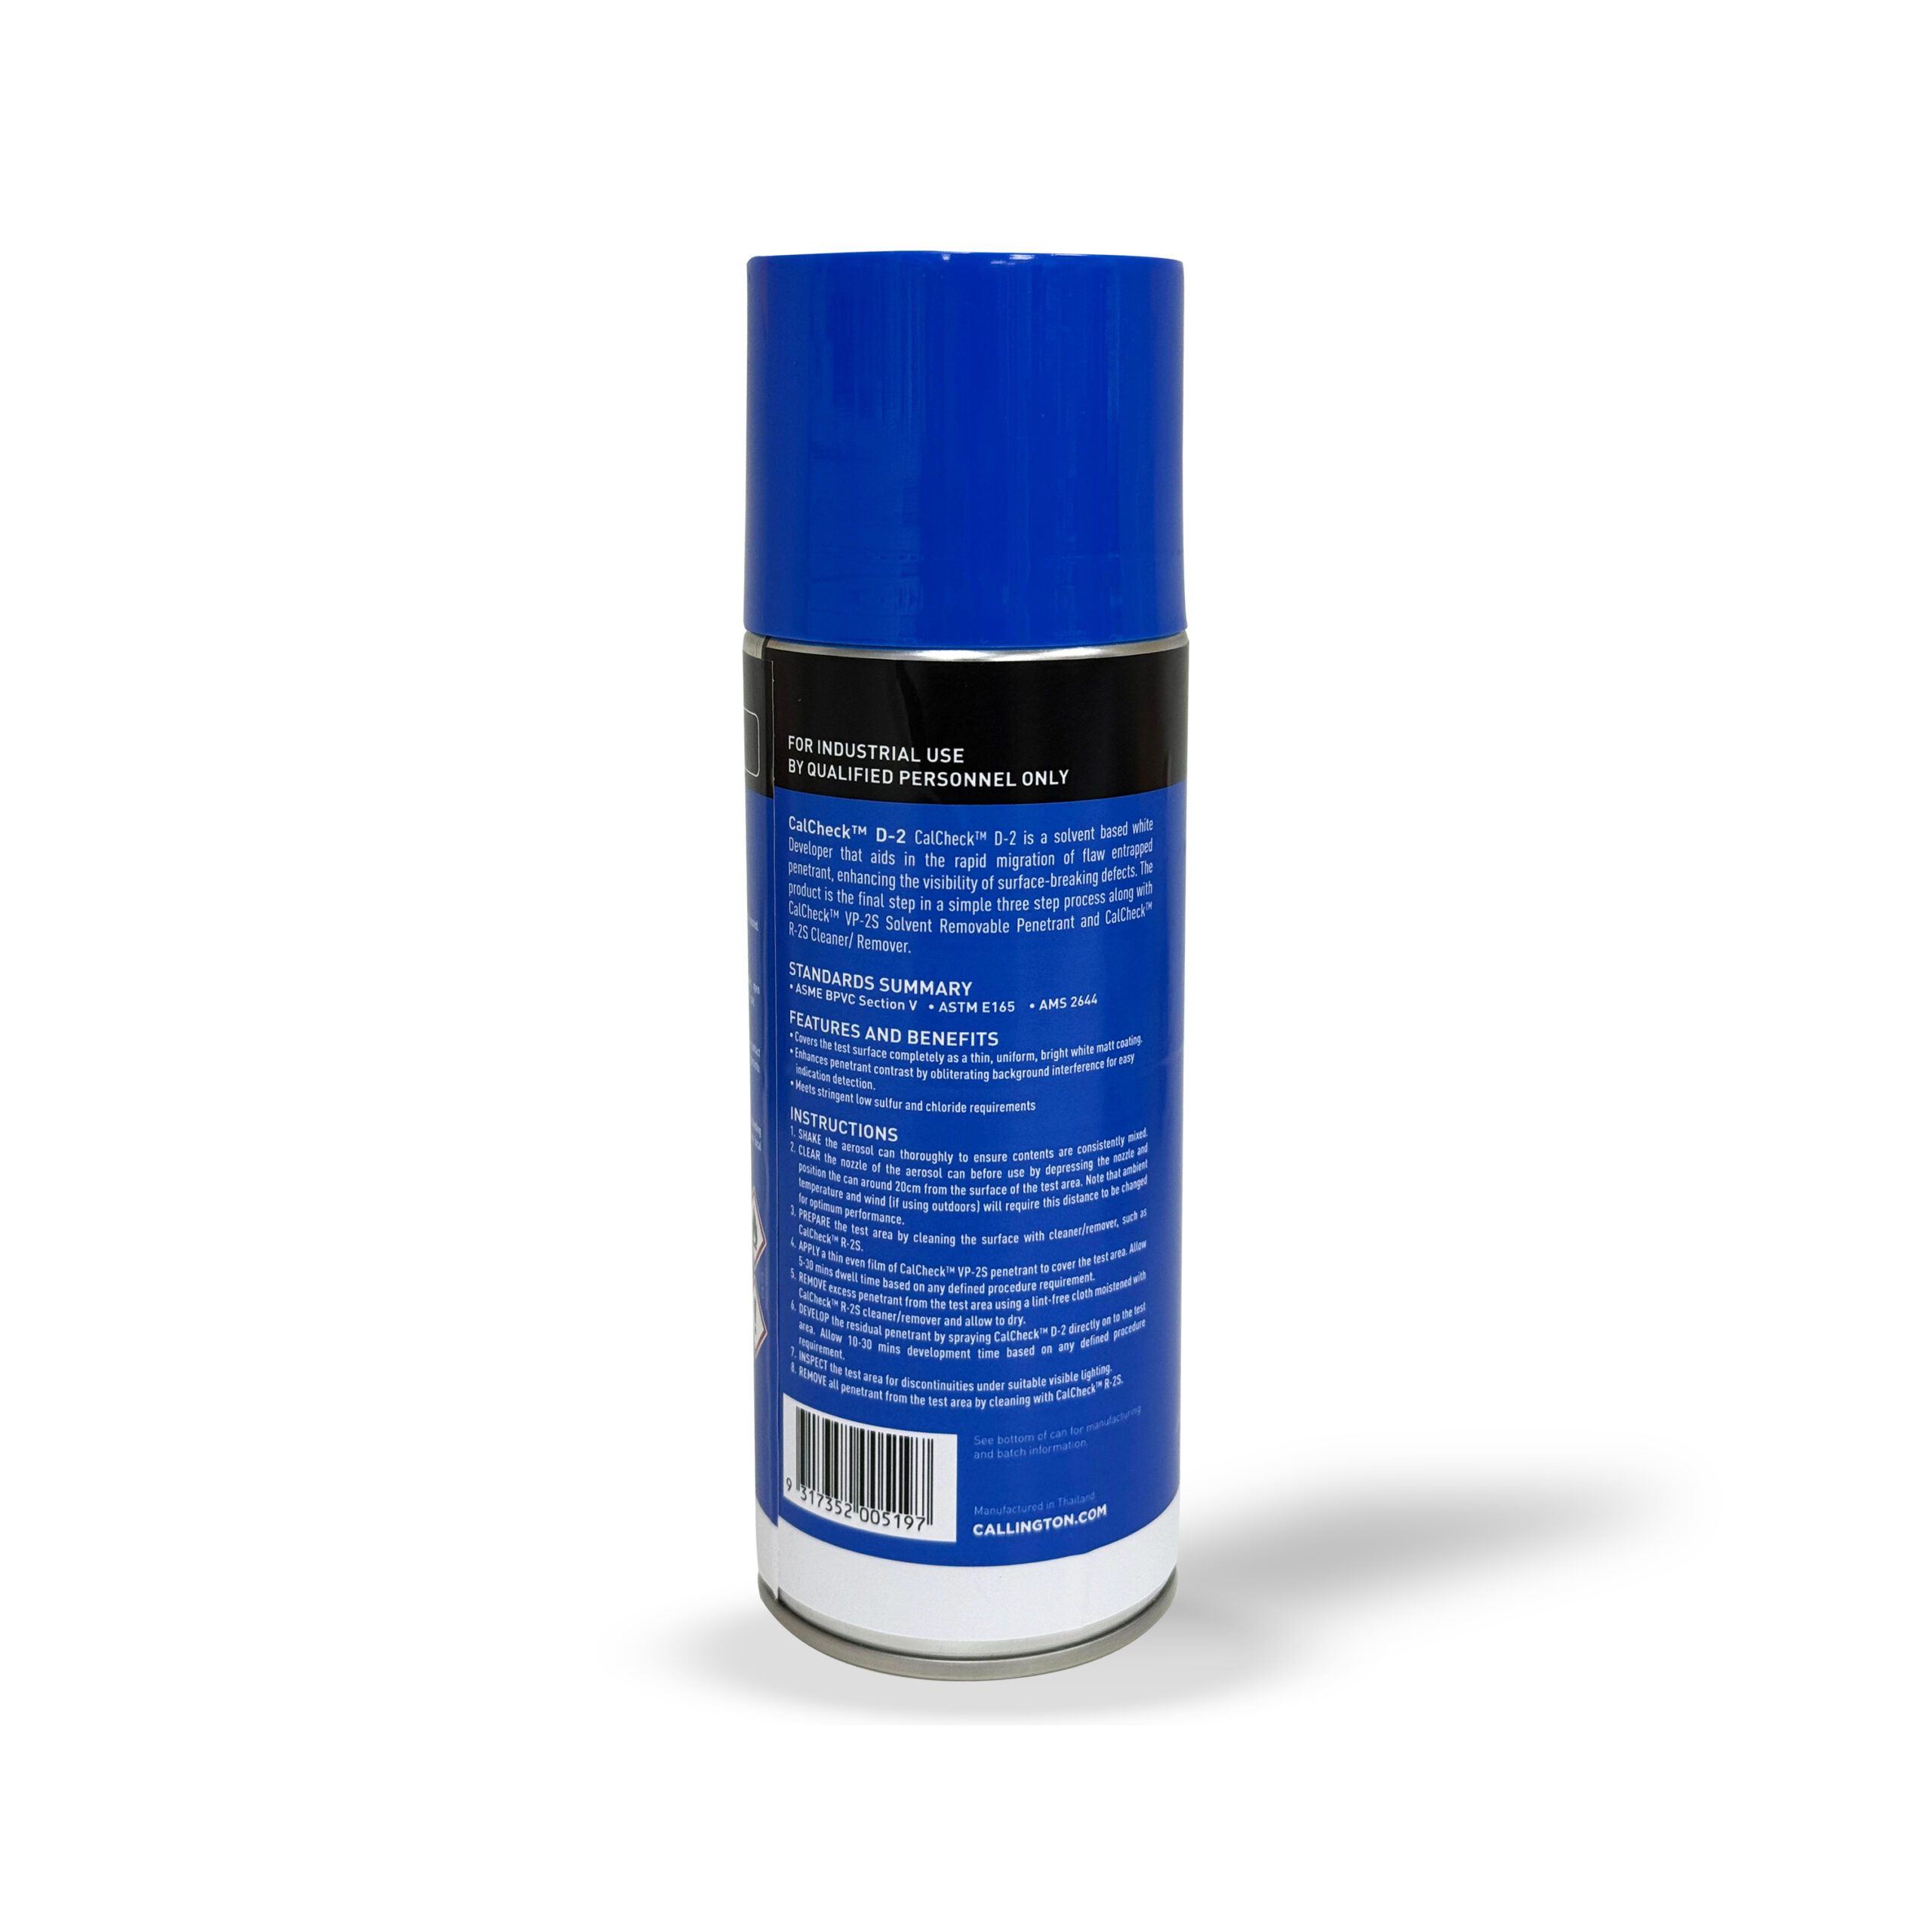
DIRECTIONS Note: These instructions describe the basic process and may need to be amended by the user to comply with applicable specifications and/or inspection criteria provided by the contracting agency. 1. SHAKE the aerosol can thoroughly to ensure the contents are consistently mixed. 2. CLEAR the nozzle of the aerosol can before use by depressing the nozzle and position the can around 20cm from the surface of the test area. Note that the ambient temperature and wind (if using outdoors) will require this distance to be changed for optimum performance. 3. PREPARE the test area by cleaning the surface with Cleaner/Remover such as CalCheck™ R2S. Allow 30 seconds dwell time before wiping CalCheck™ R-2S Cleaner/Remover from the surface with a clean, dry, lint-free rag or towel. 4. APPLY a thin even film of CalCheck™ VP-2S penetrant to the test area. Allow 5-30 minutes dwell time based on any defined procedure requirement. 5. REMOVE excess penetrant from the test area using a lint-free cloth moistened with CalCheck™ R-2S Cleaner/Remover and allow to dry. 6. DEVELOP by spraying CalCheck™ D-2 Developer directly on to the test area. Allow 10-30 minutes development time based on any defined procedure requirement. 7. INSPECT the test area for discontinuities under suitable visible lighting. 8. REMOVE all penetrant from the test area by cleaning with CalCheck™ R-2S Cleaner/Remover.