Step 1: Pre-Cleaning
• Action: Spray MR® 91 H Remover directly onto a clean, lint-free cloth. Thoroughly wipe the hot test area to remove oil, slag, rust, and scale.
• Warning: Never spray the remover directly onto the hot metal. It will flash off instantly without cleaning out the cracks. Let the ambient heat completely dry the surface.
Step 2: Apply the Penetrant
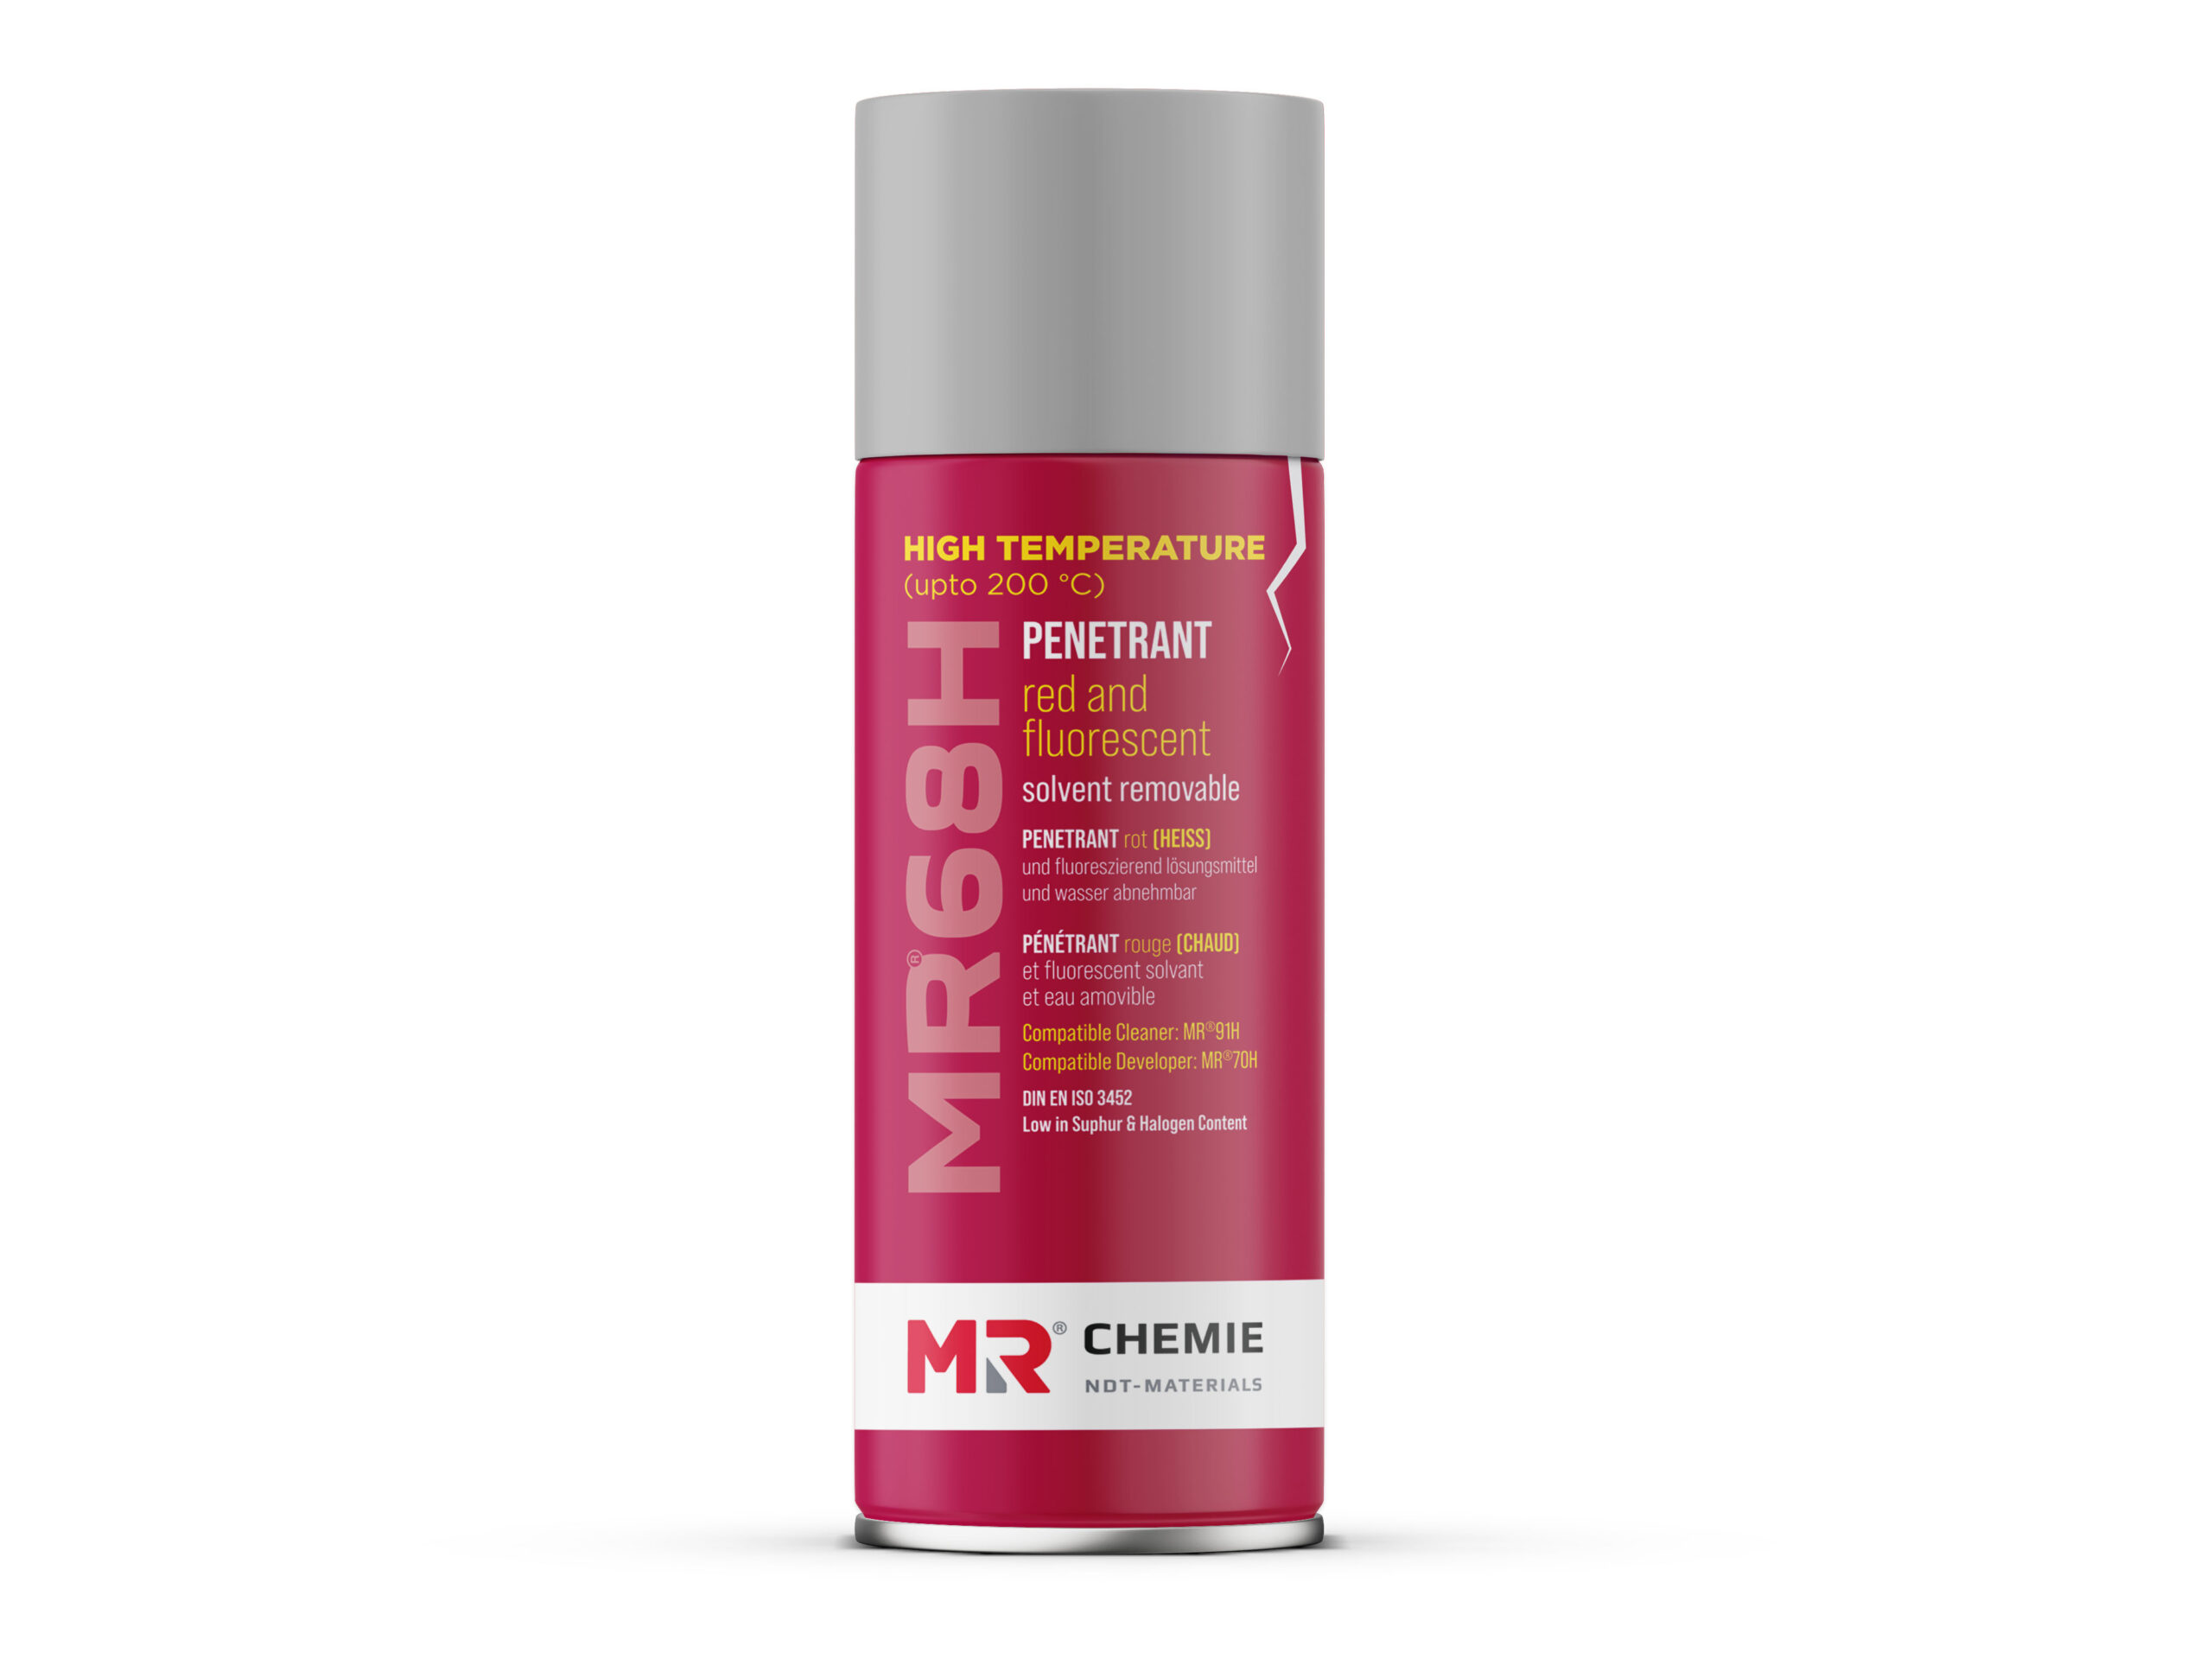
• Action: Spray a thin, even film of MR® 68 H Penetrant onto the hot component.
• Dwell Time: Allow it to sit for 60 to 120 seconds (1 to 2 minutes).
• Warning: Do not leave it on longer than 2 minutes. At high temperatures (closer to 200°C), the penetrant carrier can bake and dry out, which ruins the test.
Step 3: Remove Excess Penetrant
• Action: First, use a clean, completely dry cloth to wipe away the bulk of the red penetrant.
• Action: Second, lightly moisten a fresh cloth with MR® 91 H Remover and wipe the surface until the pink background haze is completely gone.
• Warning: Do not spray remover onto the part. Doing so will wash the penetrant out of the actual cracks, leading to a false-safe reading.
Step 4: Apply the Developer
• Action: Shake the MR® 70 H Developer can vigorously until the mixing ball rattles freely.
• Action: From a distance of 20–30 cm, spray a light, uniform layer. The surface should look like it has a very thin, white frost coating.
• Development Time: Let it stand for 10 to 60 seconds.
Step 5: Inspection & Interpretation
Examine the white developer layer immediately using one of two lighting methods:
• Daylight / White Light: Cracks and defects appear as vivid, sharp dark pink lines or dots.
• UV Light (365 nm): Under a blacklight lamp, the defects fluoresce as a bright, glowing neon orange.