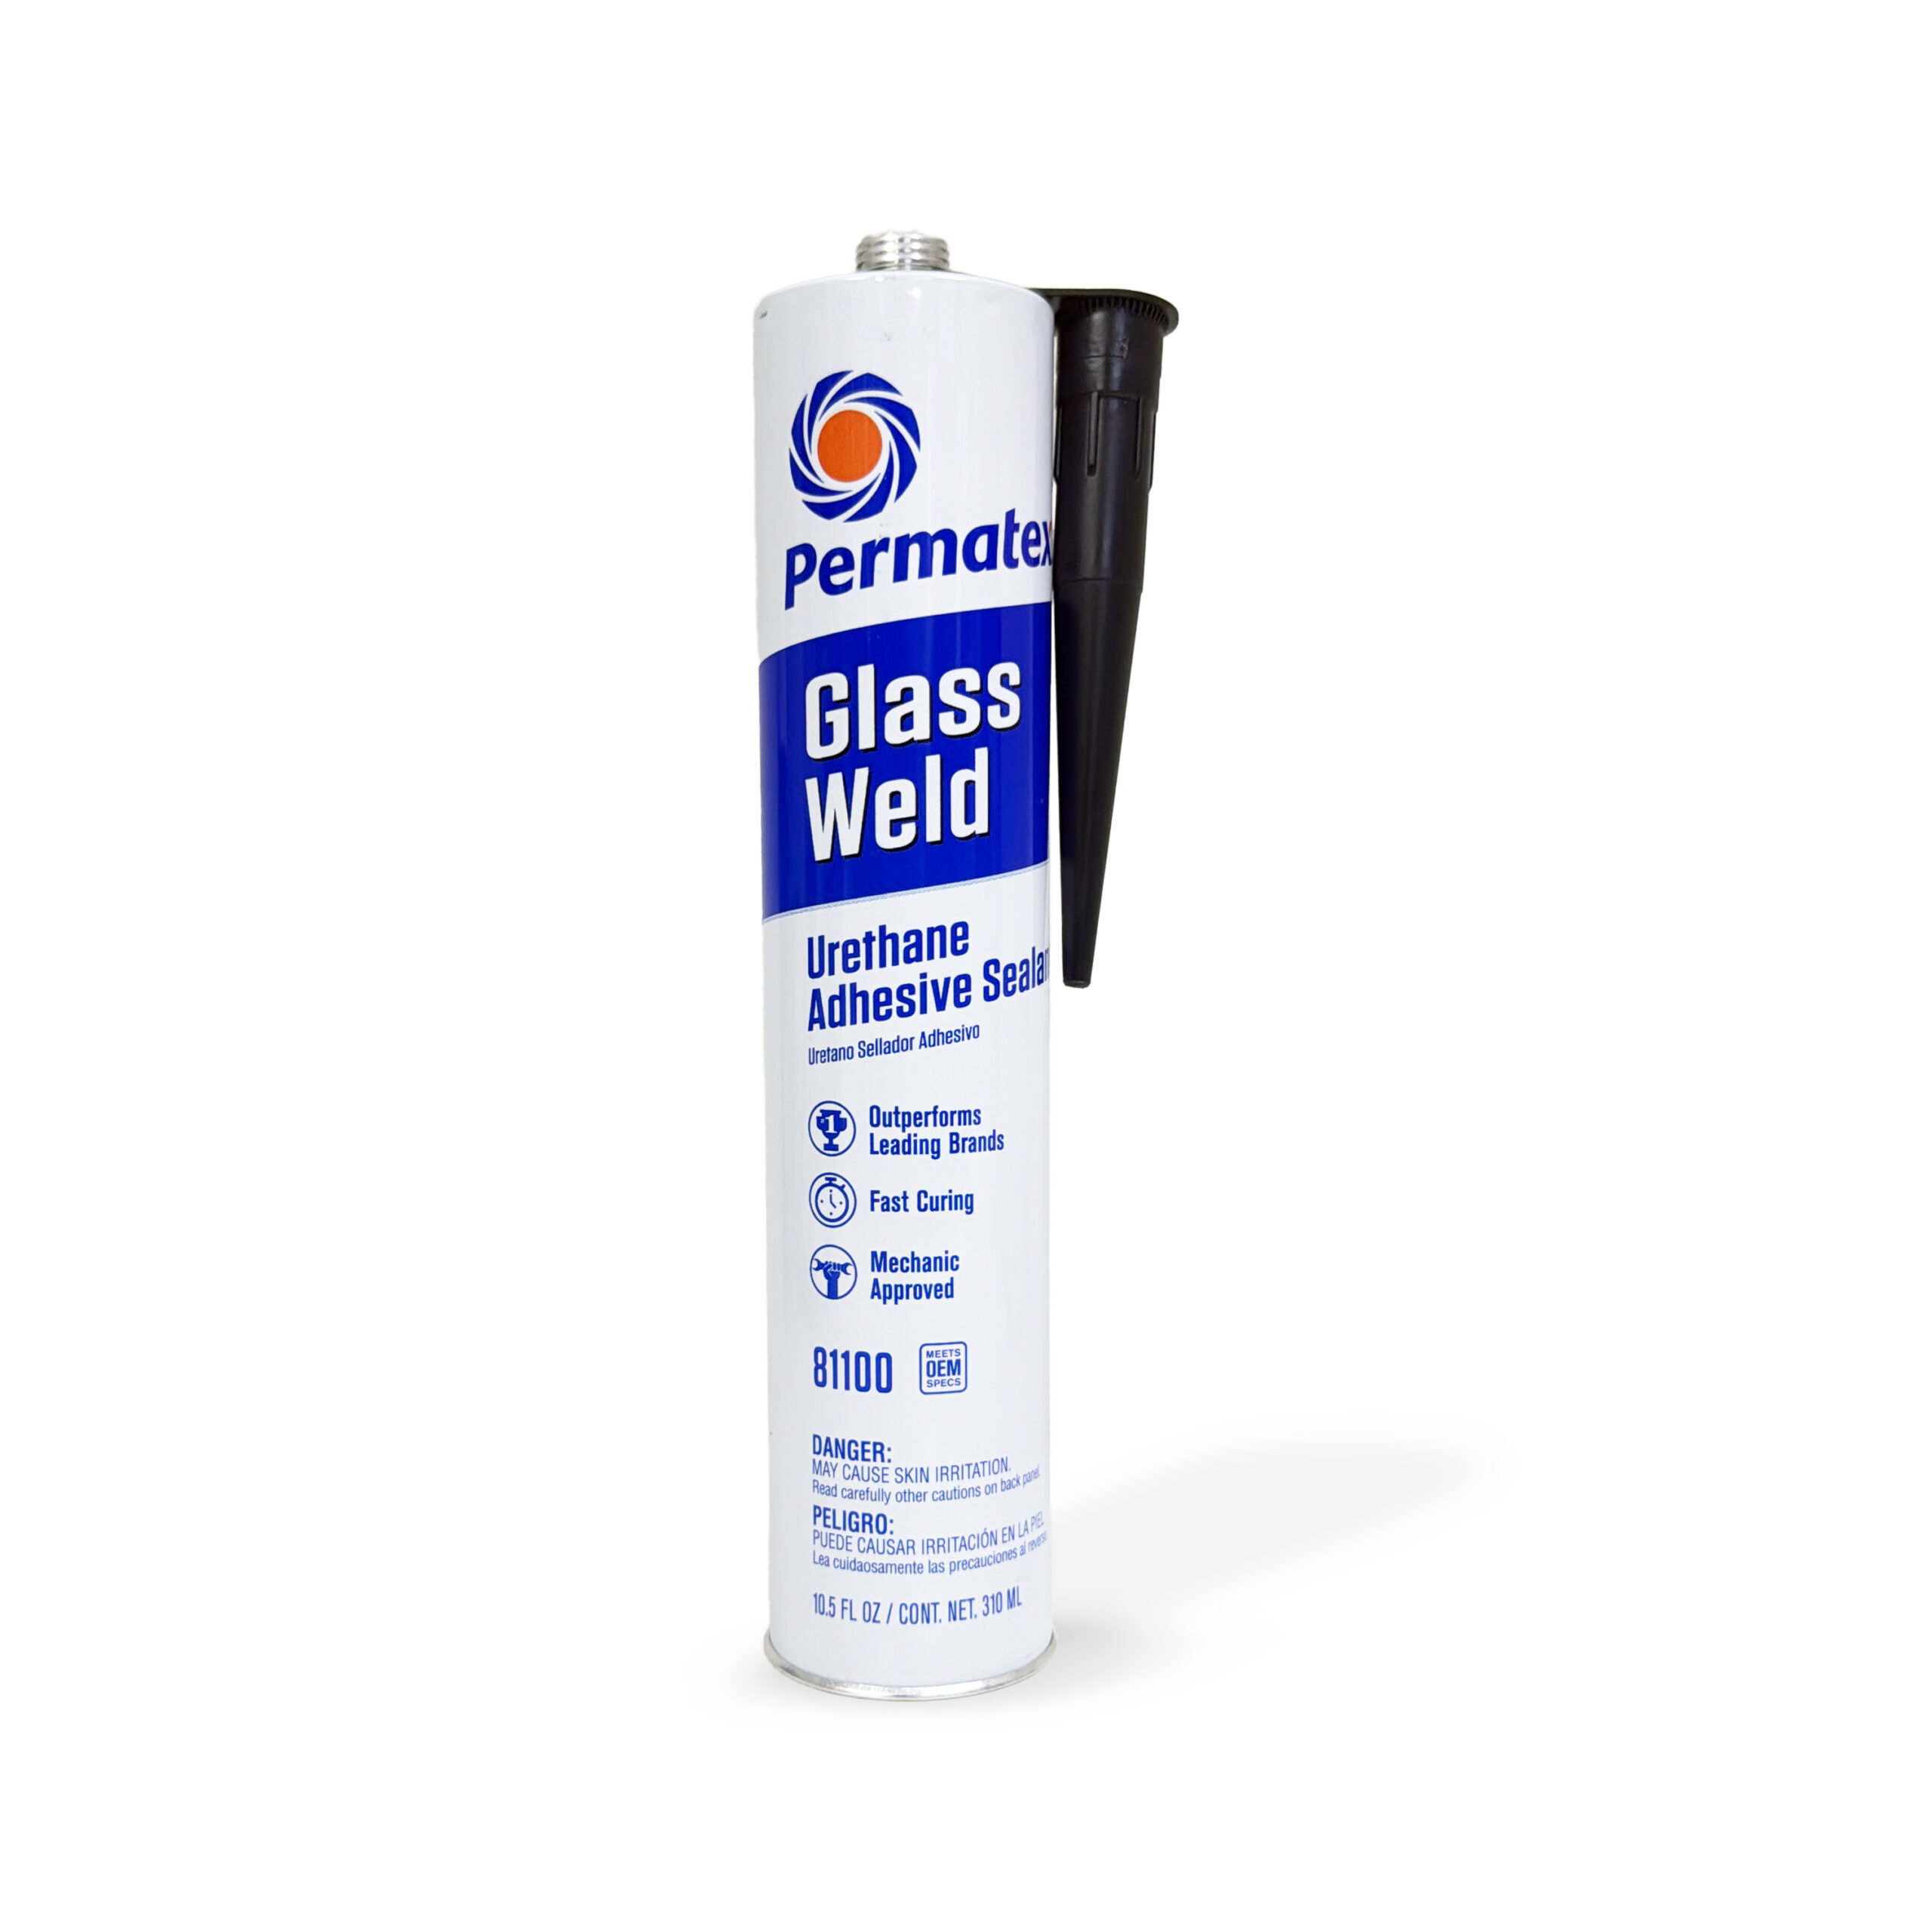
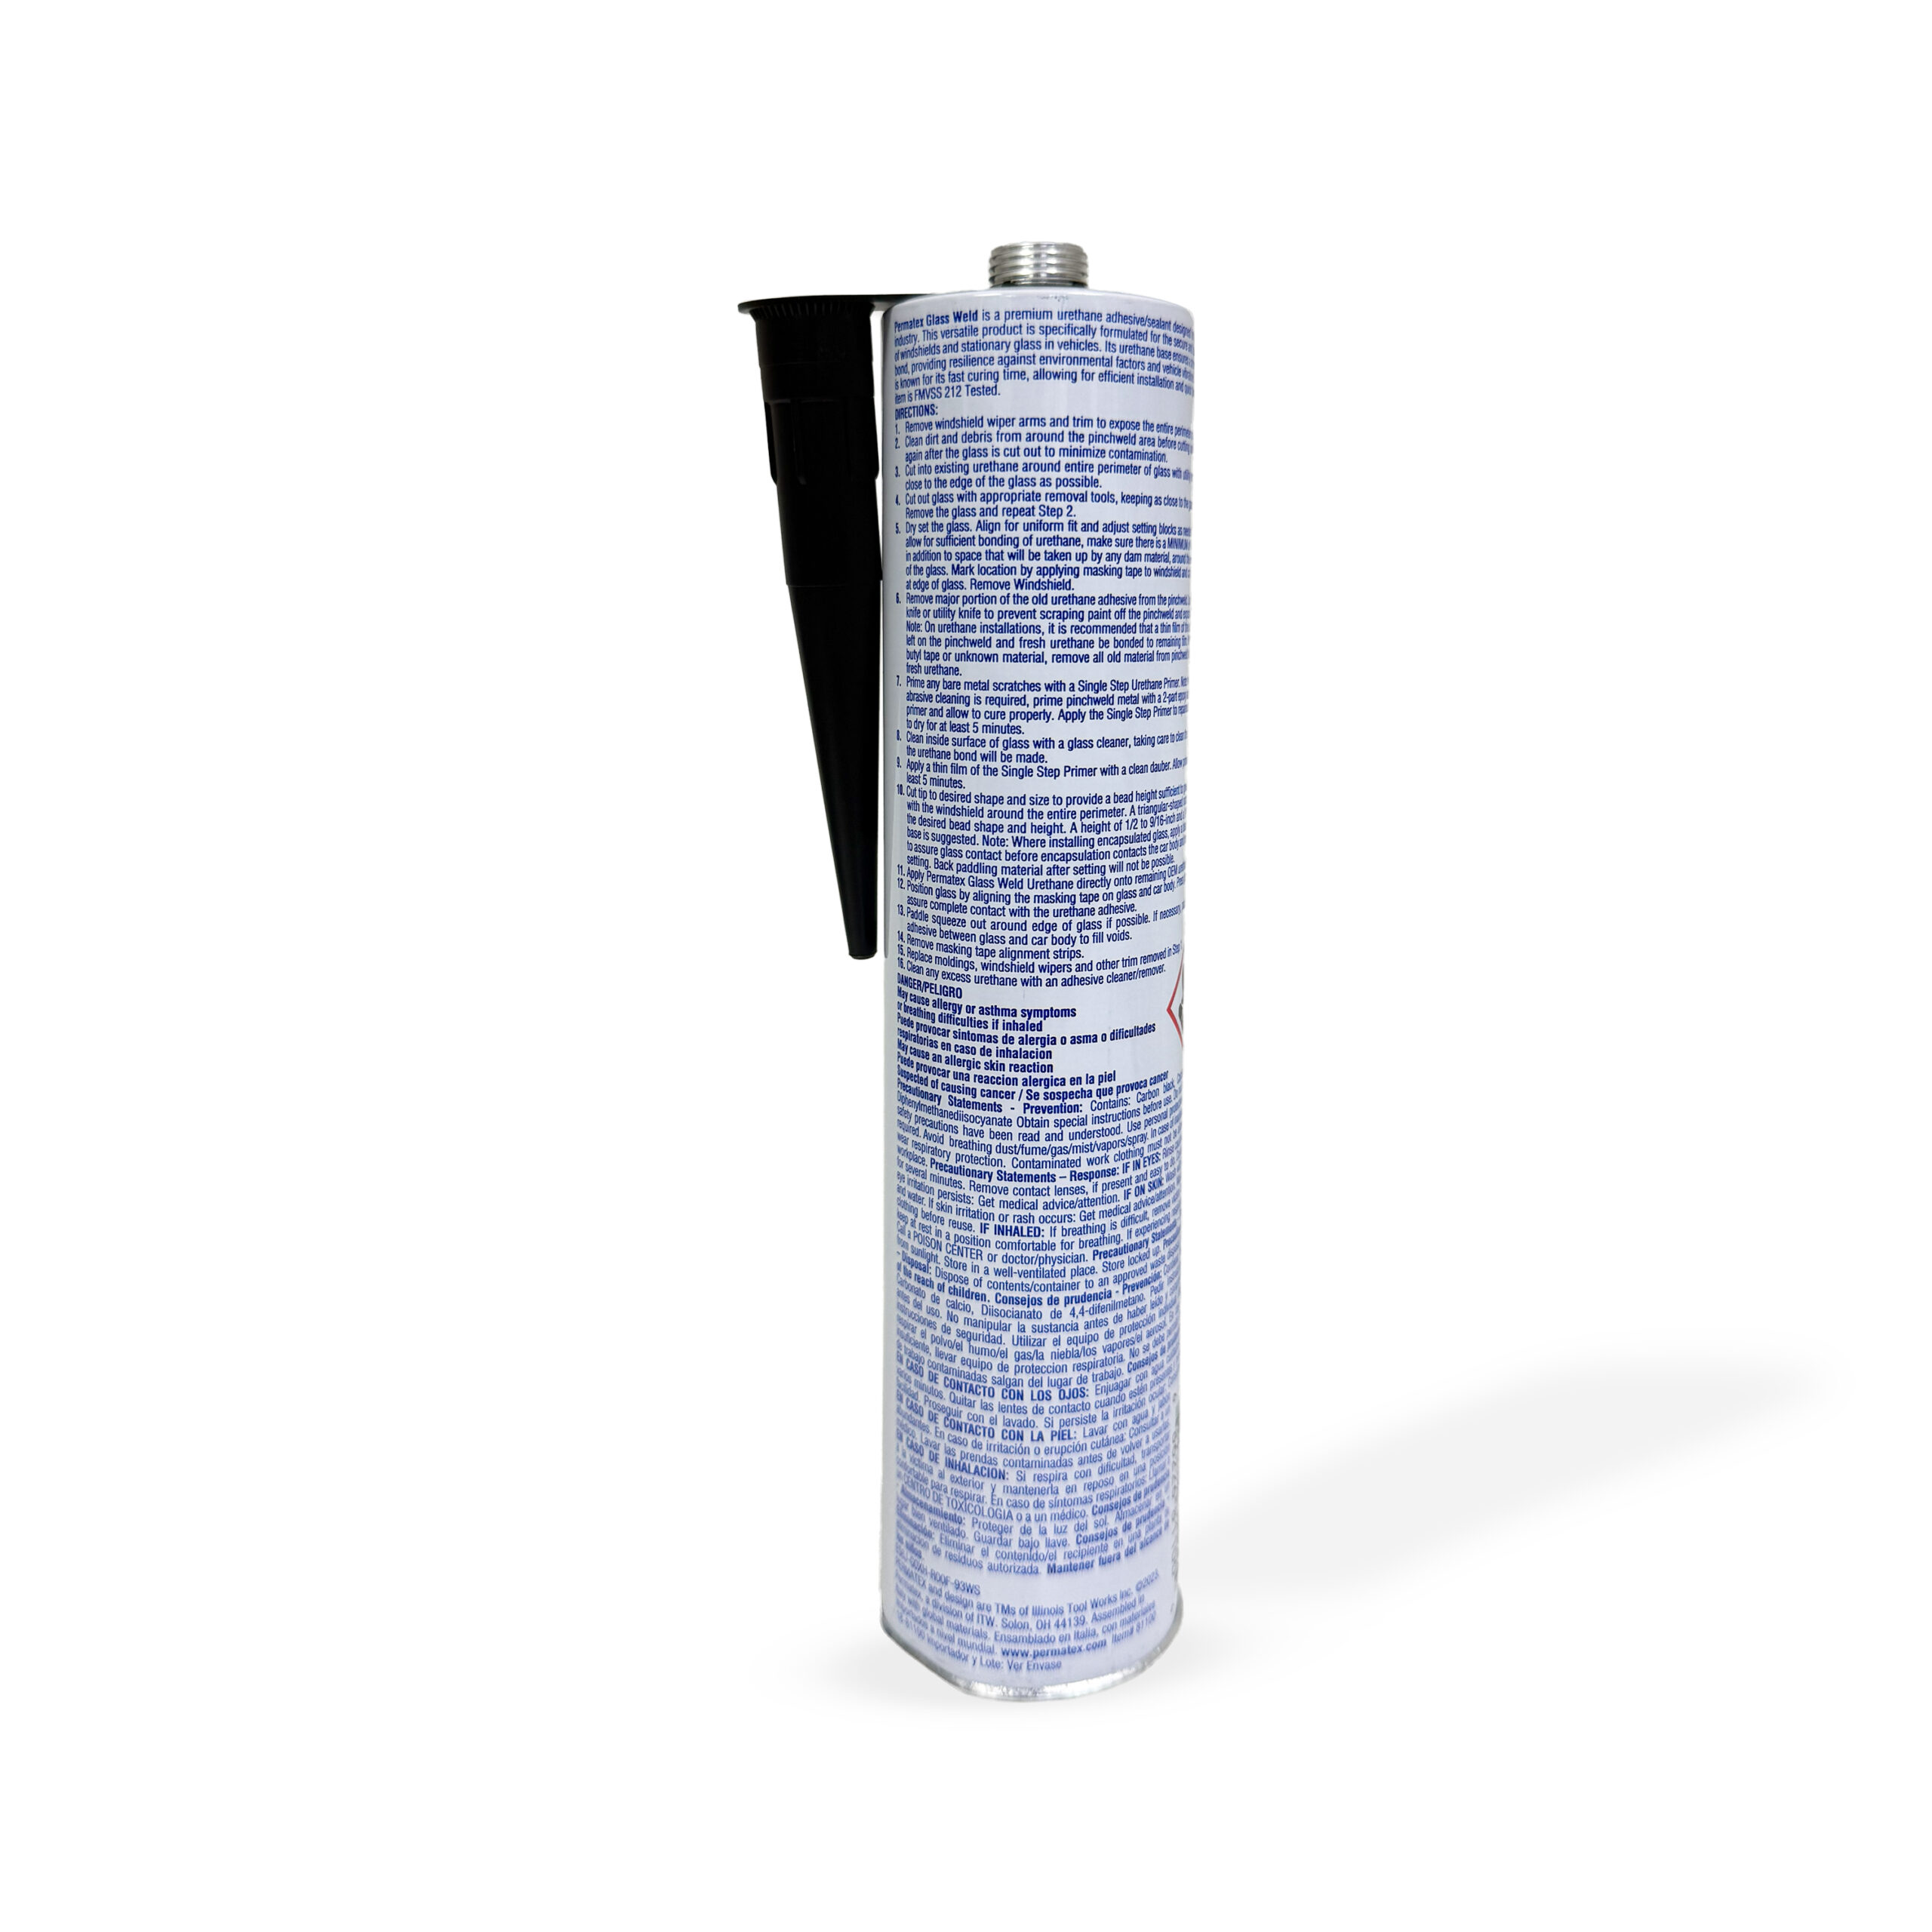
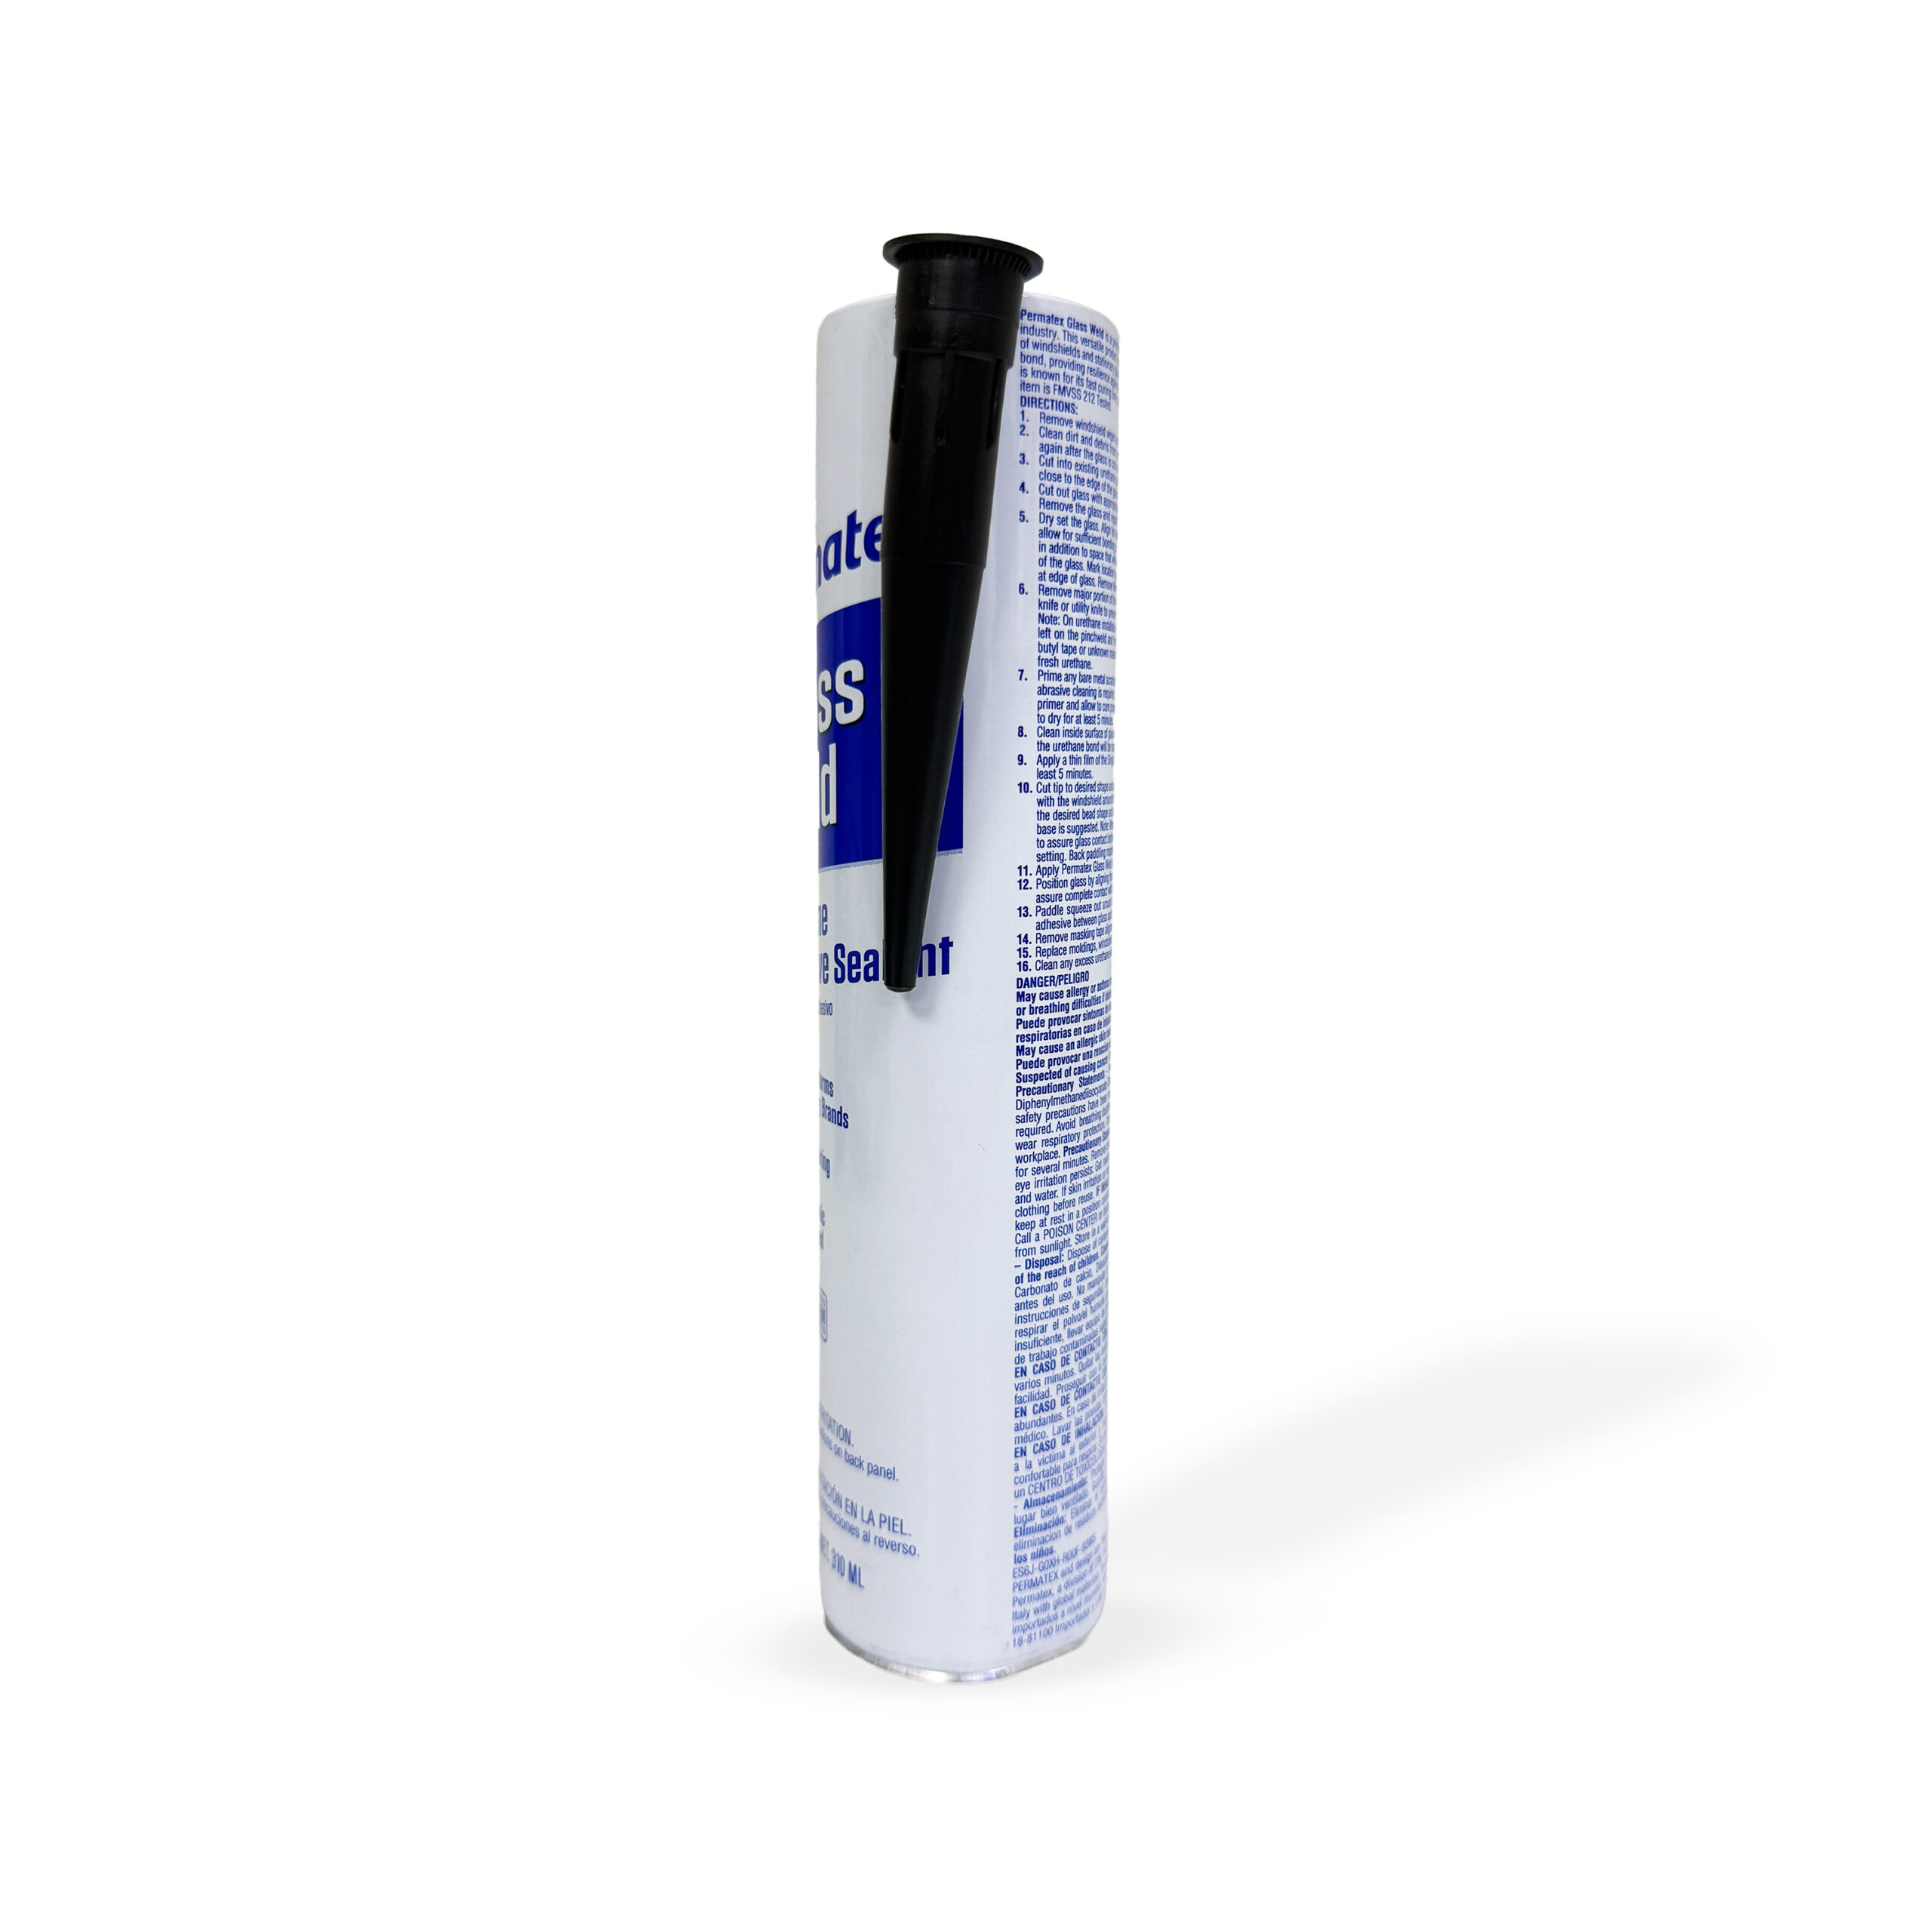
1. Surface Preparation
Clean the area: Remove all dirt, moisture, and debris from the vehicle frame and glass surface.Trim old adhesive: Use a utility knife or razor blade to shave down the leftover cured adhesive on the frame. Leave a thin, flat base layer of the original OEM urethane if it is securely bonded.
2. Dry Fit & AlignmentTest placement:
Place the new glass onto the frame without adhesive to check the alignment.Adjust position: Position setting blocks to ensure a uniform fit, ensuring there is a minimum of 1/4-inch of glass area available for bonding.
3. Preparing the Cartridge
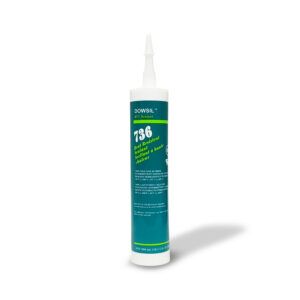
Open the tube: Use a utility knife to puncture the seal at the top of the cartridge thread.Cut the nozzle: Trim the applicator nozzle tip at an angle to achieve the desired bead size. A height of 1/2″ to 9/16″ and a width of 1/4″ to 5/16″ is recommended.Pro tip: Polyurethane is very thick. Warm up the cartridge slightly using a heat gun or hairdryer before applying to help it flow smoothly out of a heavy-duty caulking gun.
4. Adhesive Application & MountingApply the bead:
Load the cartridge into a heavy-duty caulk gun. Apply a continuous, even bead of the sealant directly onto the vehicle frame’s remaining OEM urethane film or pinch weld.Mount the glass: Carefully press the glass onto the frame, pushing down firmly to guarantee complete contact with the adhesive bead across the entire perimeter.Seal voids: Check the edge for gaps. If you spot any voids, fill them immediately with extra adhesive and smooth it flat. Clean up any accidental squeeze-out or smudges right away using a dry cloth or glass solvent.
5. Curing & Drive-Away TimeSecure the glass:
Secure the window with painter’s tape or suction clips to prevent sliding while it sets.Wait to cure: Keep the vehicle stationary. The moisture-curing polyurethane requires a minimum of 2 hours to reach a safe, crash-tested drive-away cure. Full cure occurs over 24 hours.