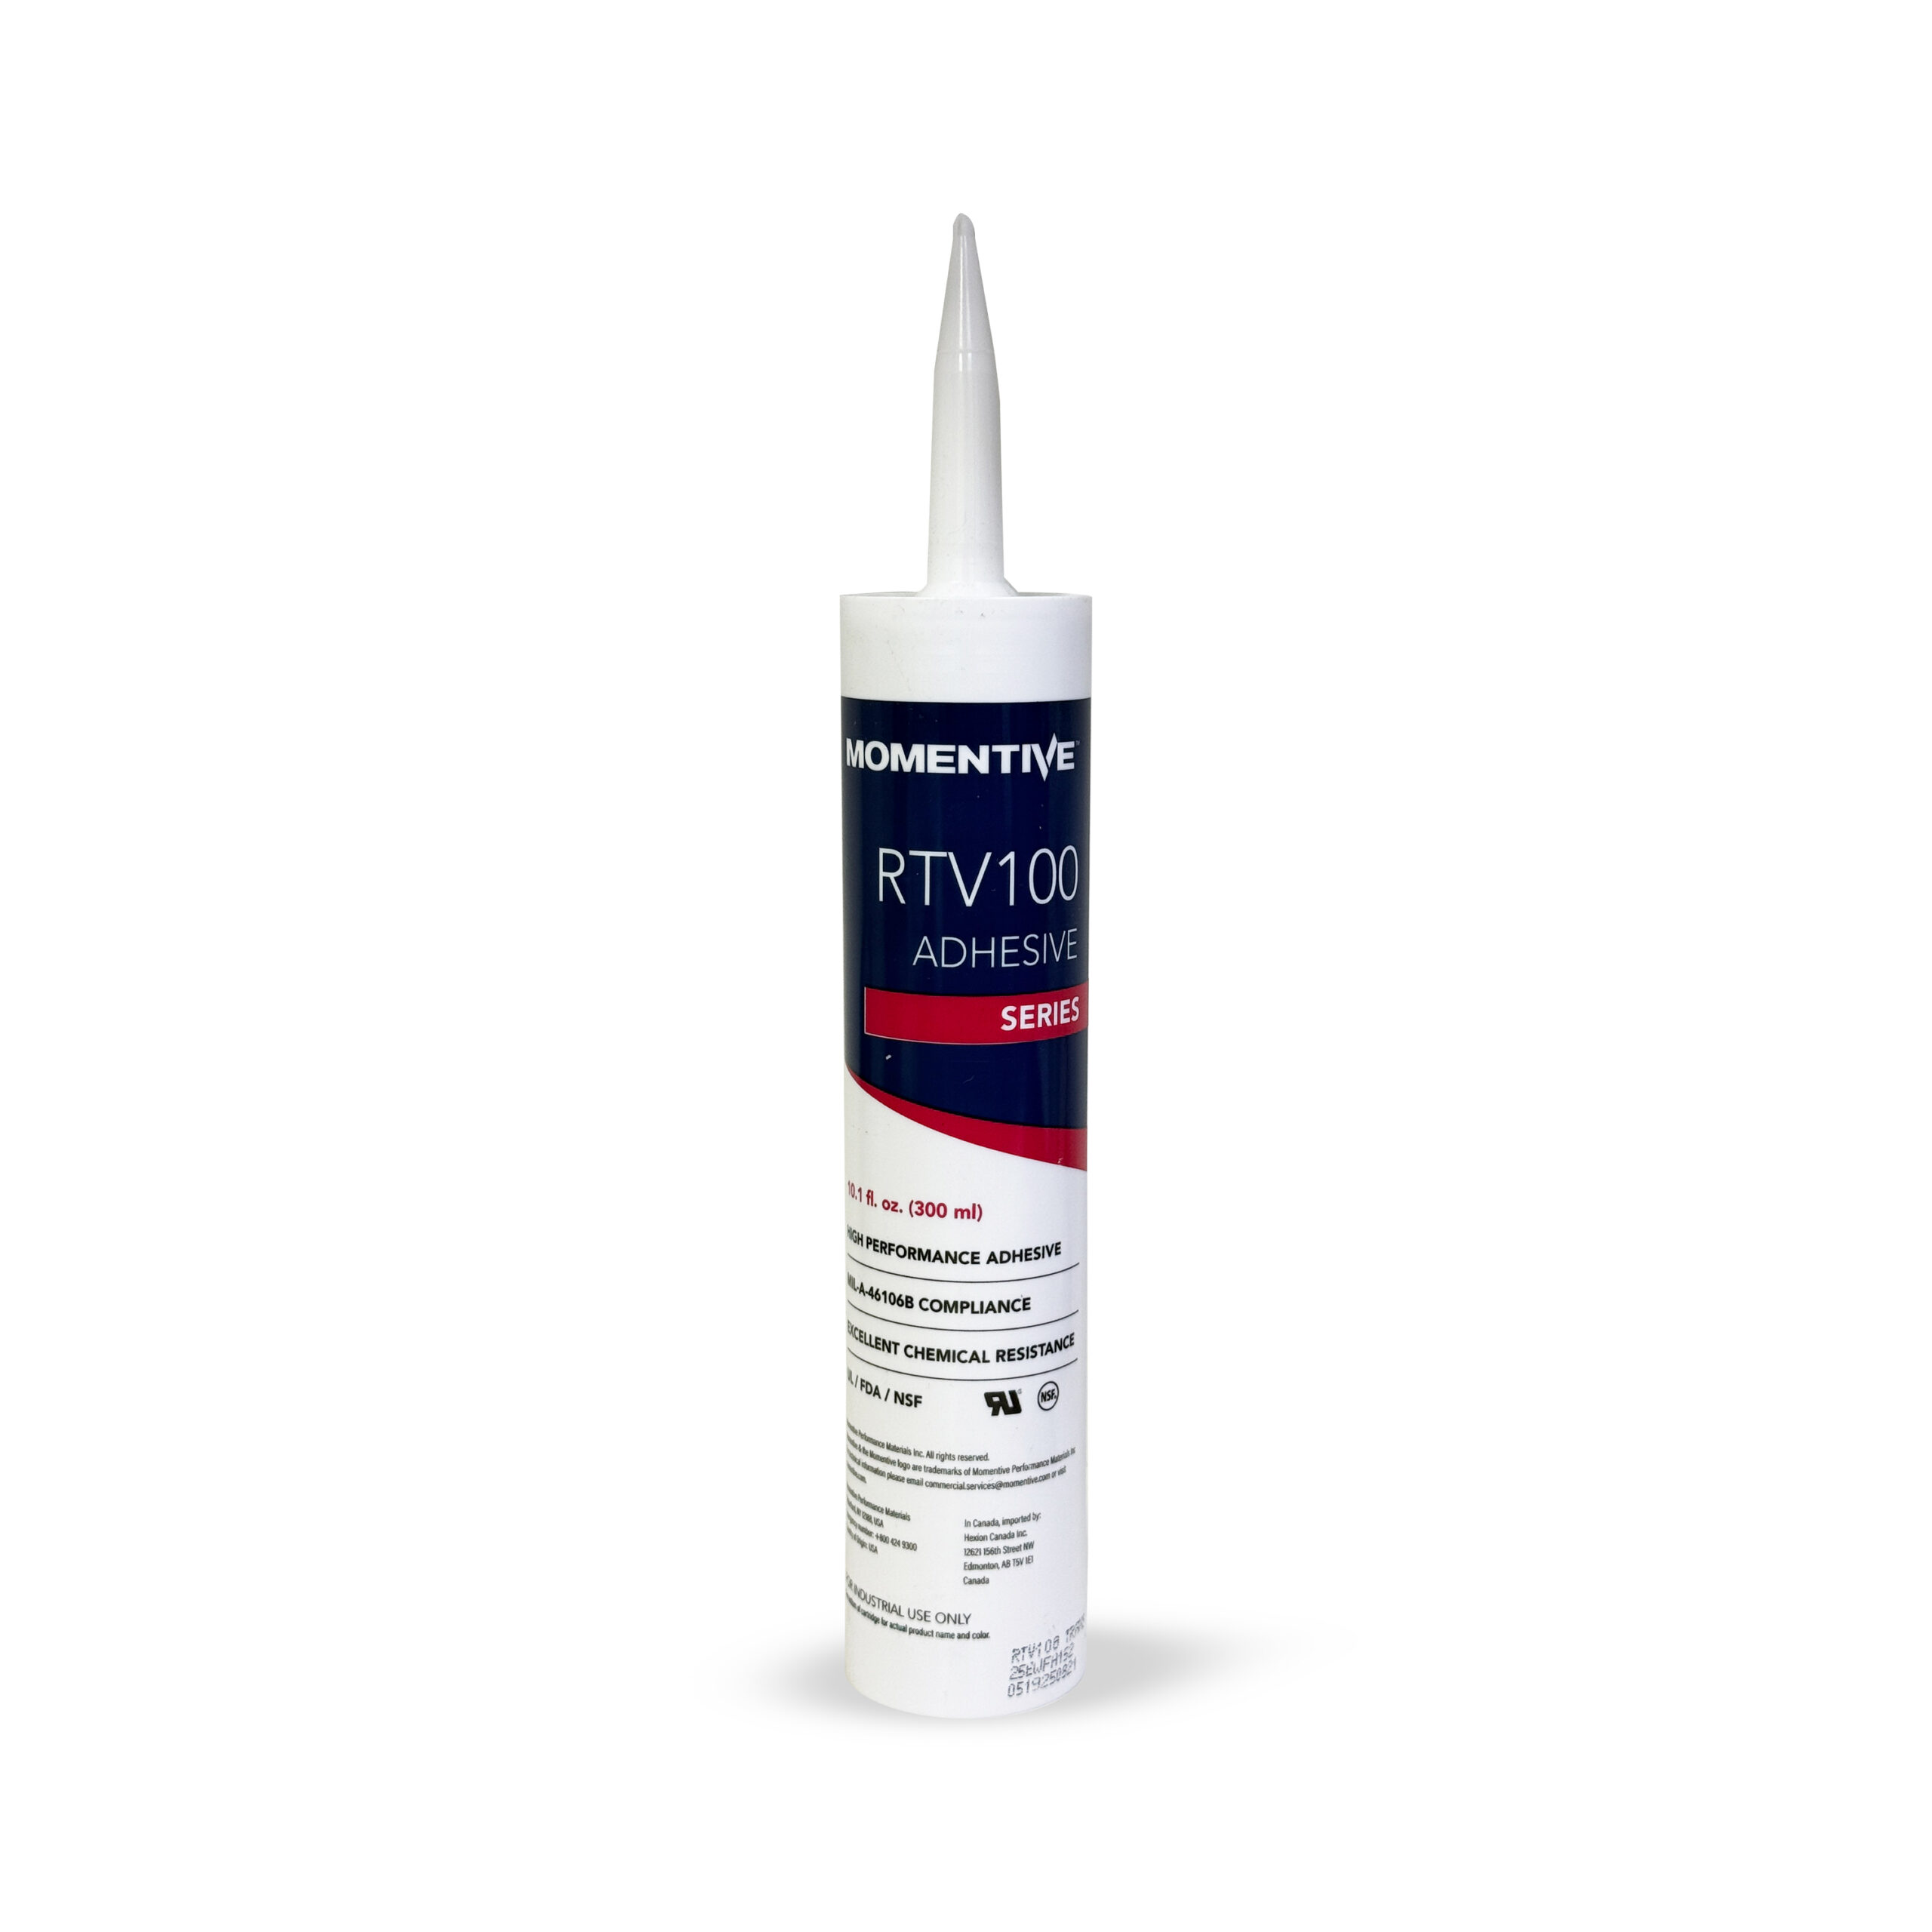
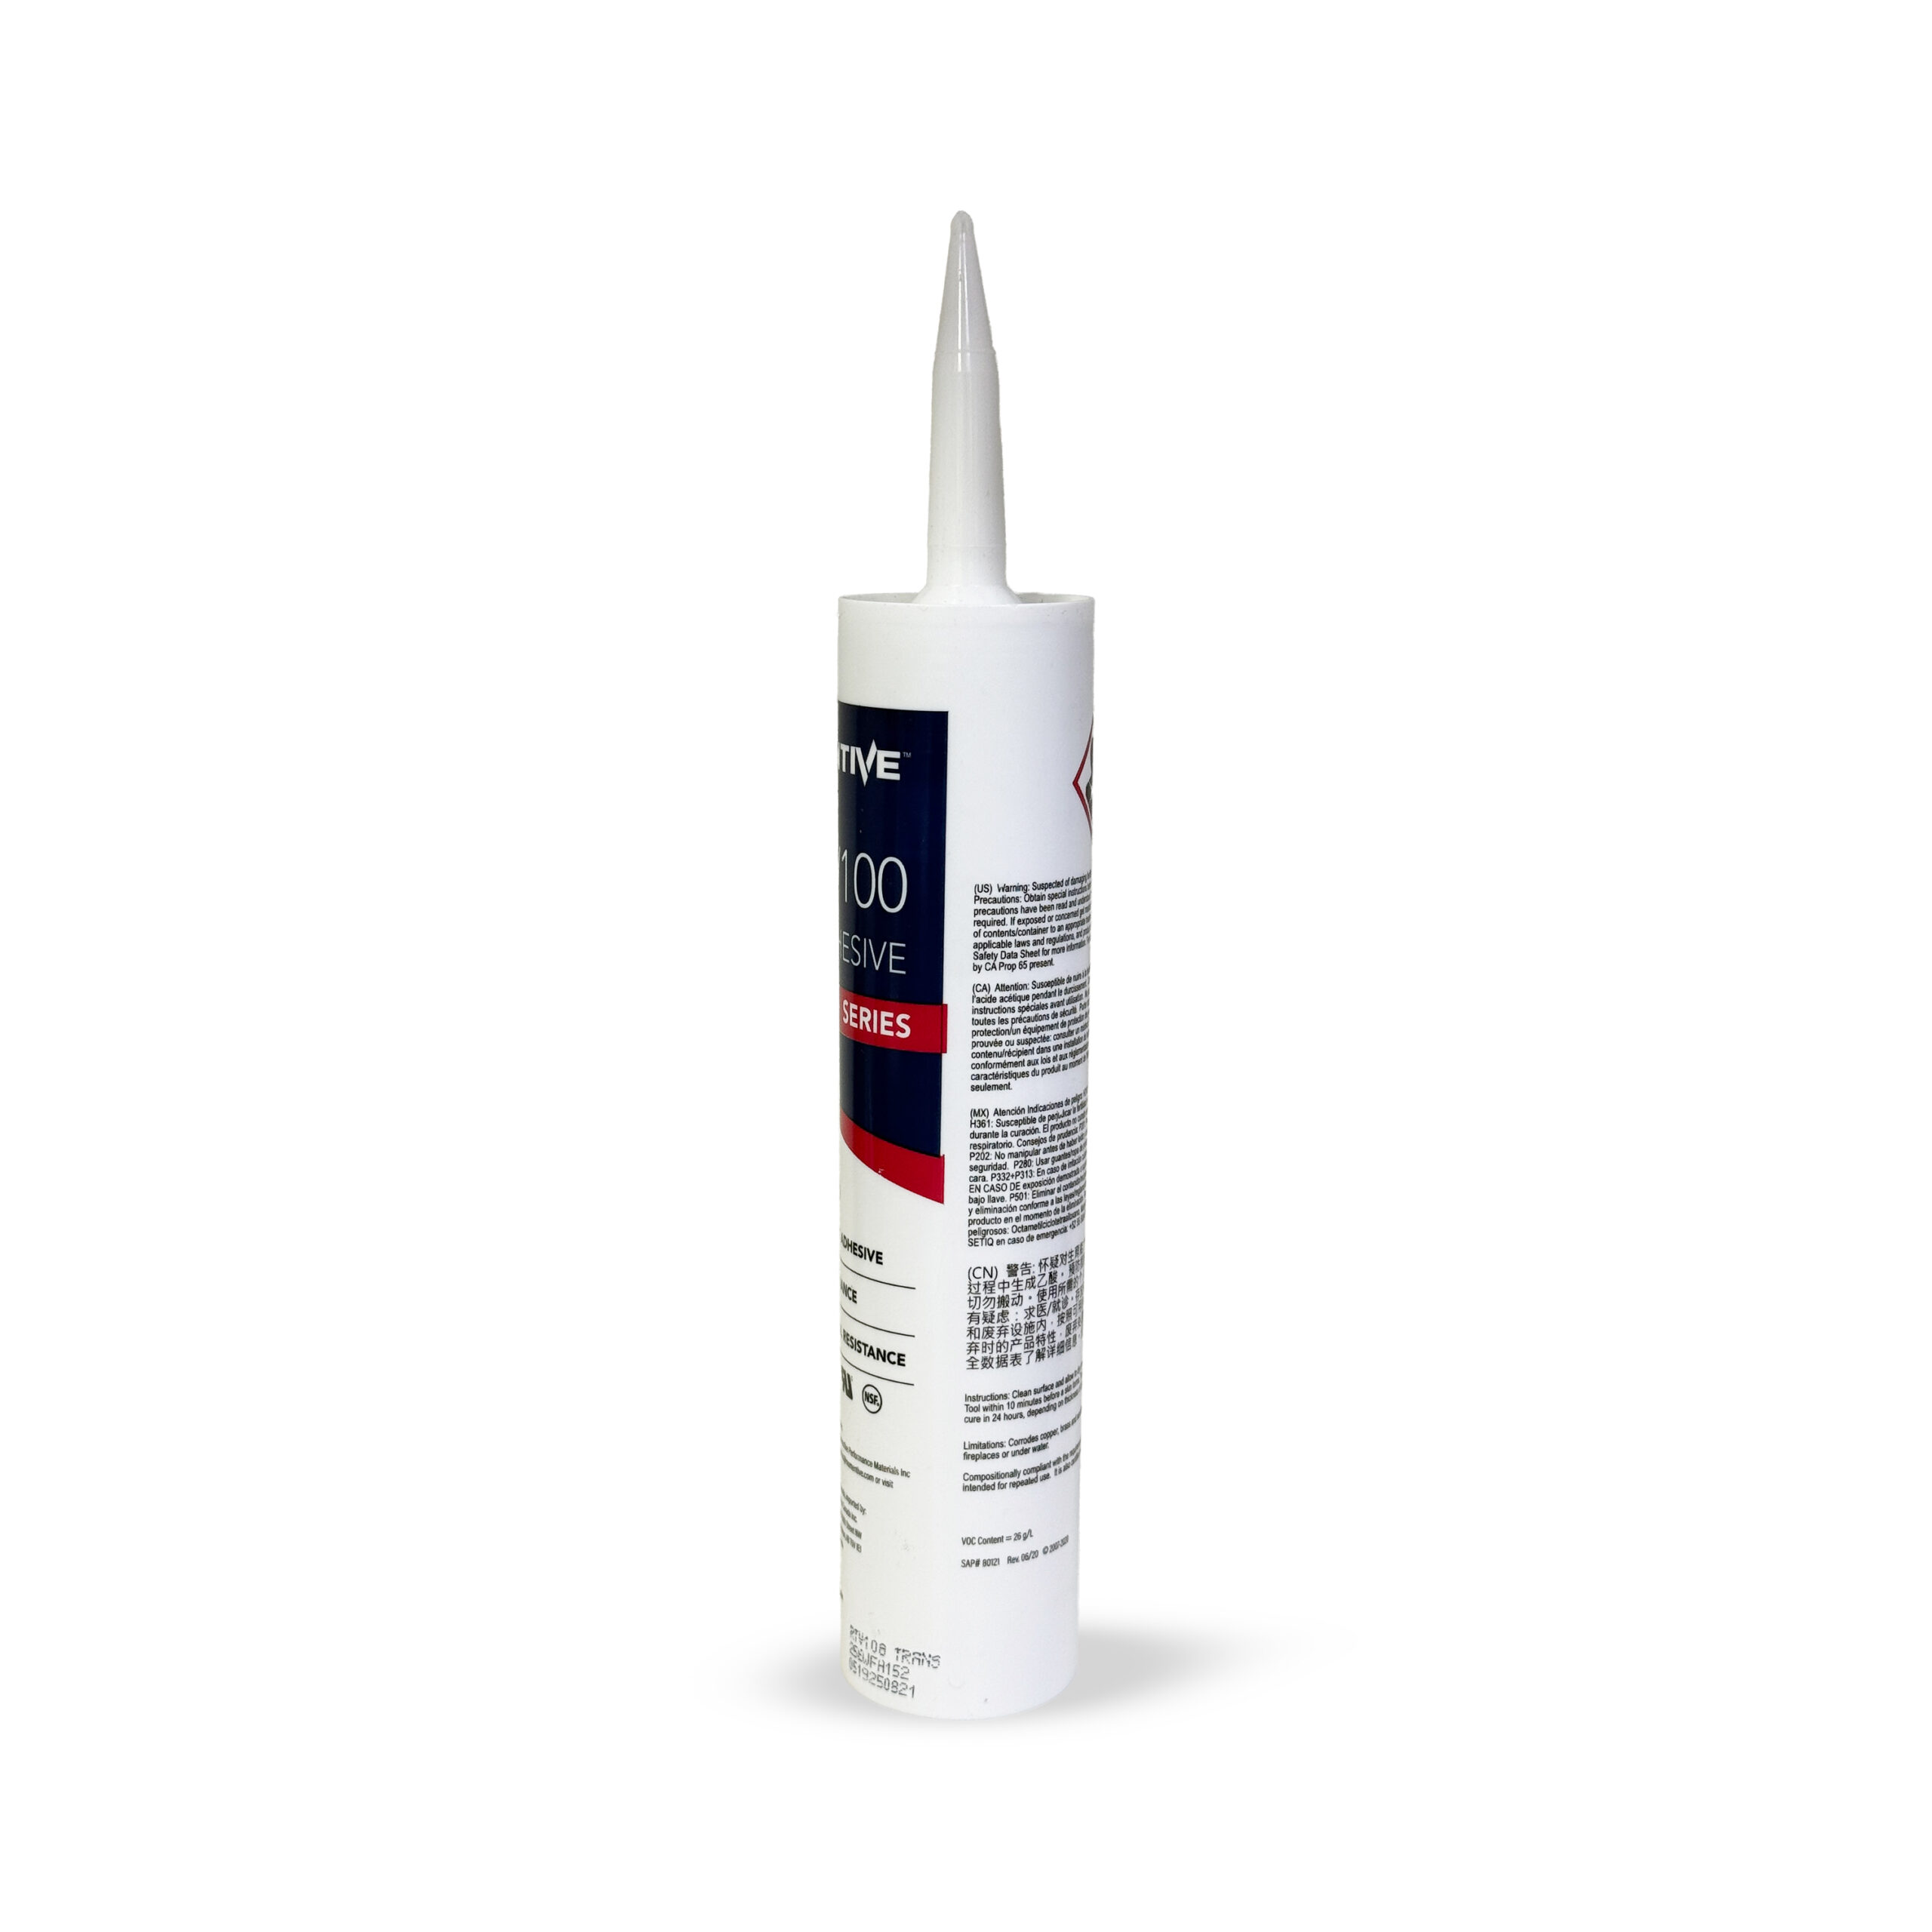
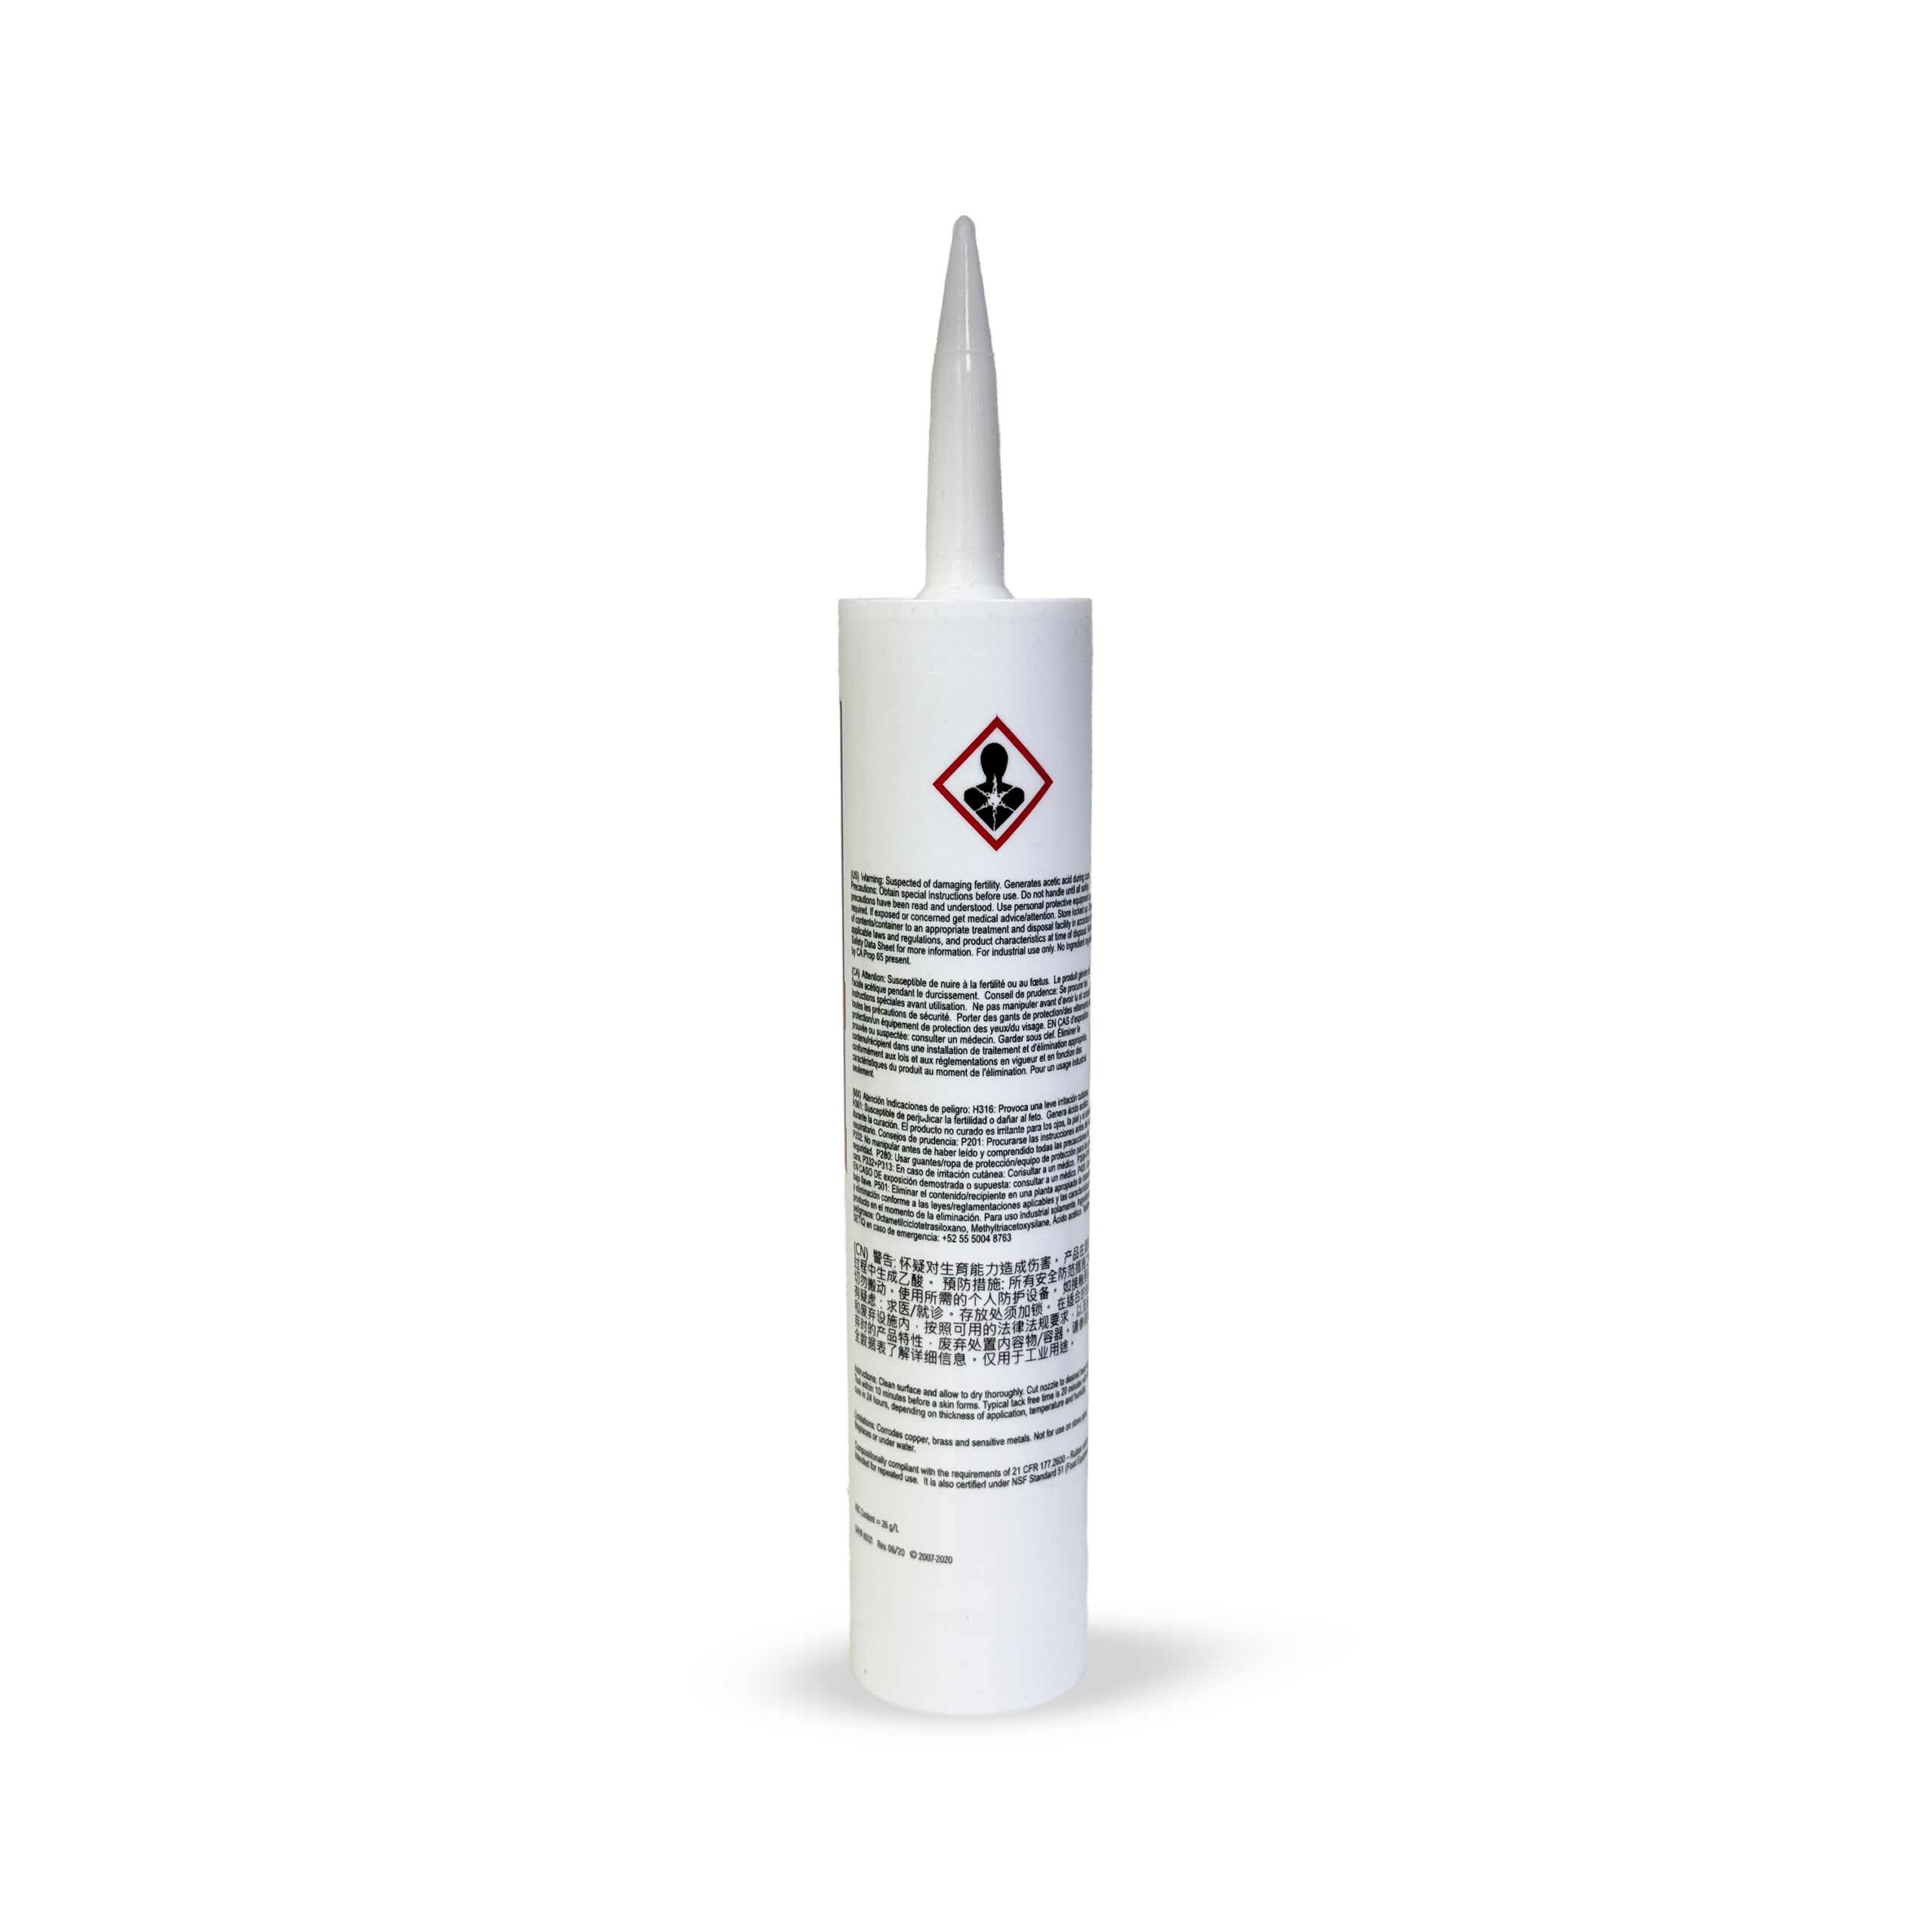
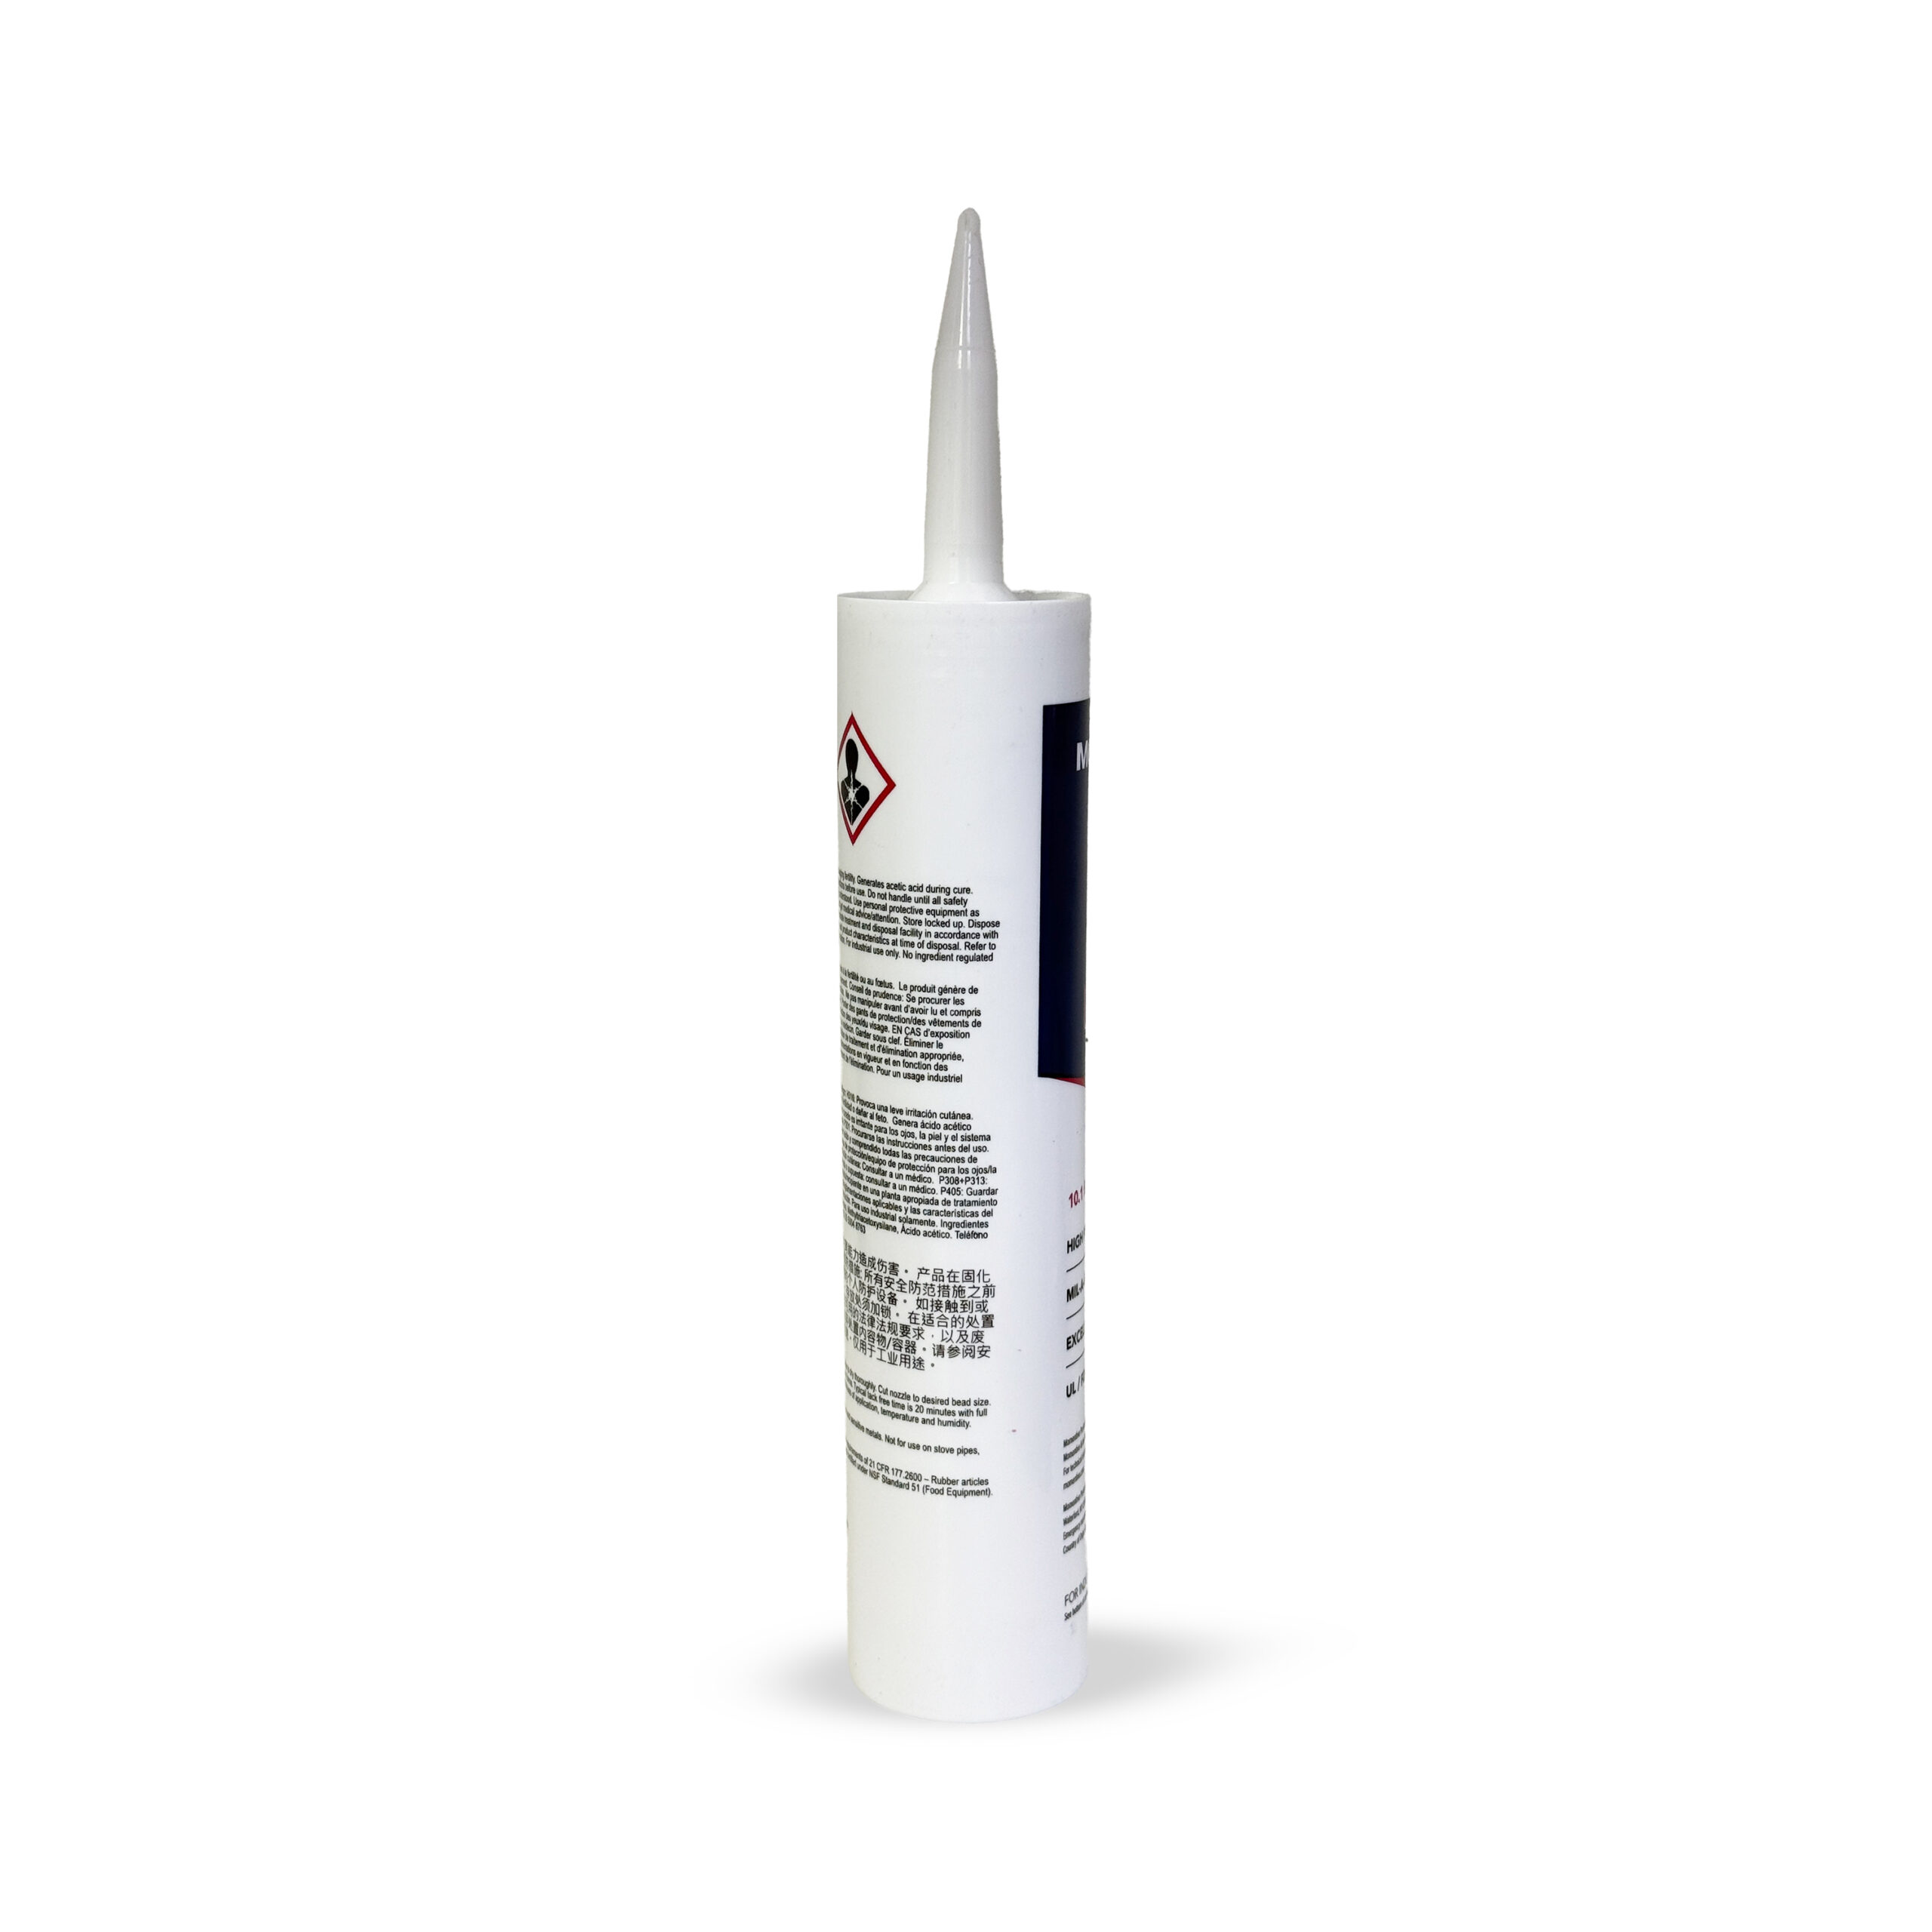
1. Surface Preparation
Clean the Substrates: Ensure all surfaces are completely clean, dry, and free of grease, oil, dust, and water.Remove Old Sealant: Scrape away any old caulk or adhesive before applying the new layer.
2. Application
Cut the Nozzle: Cut the tube or cartridge nozzle at a 45-degree angle to your desired bead width.Apply the Sealant: Dispense using a standard mechanical or air-operated caulking gun. Apply as a continuous, thin ribbon or bead.Keep it Thin: Do not apply the adhesive in thicknesses greater than 6 mm (1/4 in.), as the moisture cure relies on air exposure from the outside in.Tooling: You have about 15 to 30 minutes (at 50% relative humidity) to tool or smooth the bead before a tack-free skin forms. Do not attempt to tool the sealant after the skin has formed.
3. Curing Process
Reaction: As the silicone cures, it will release acetic acid vapors (which have a vinegar-like smell). Ensure your workspace is well-ventilated.Cure Time: At standard room temperature (25°C) and 50% humidity, a 3 mm (1/8 in.) section will cure through in approximately 24 hours. Full adhesive strength requires 24–48 hours.Note: High humidity and higher temperatures will speed up the curing process