
SKU : 80014
Pack Size : 57 g
12 Piece per Cartoon
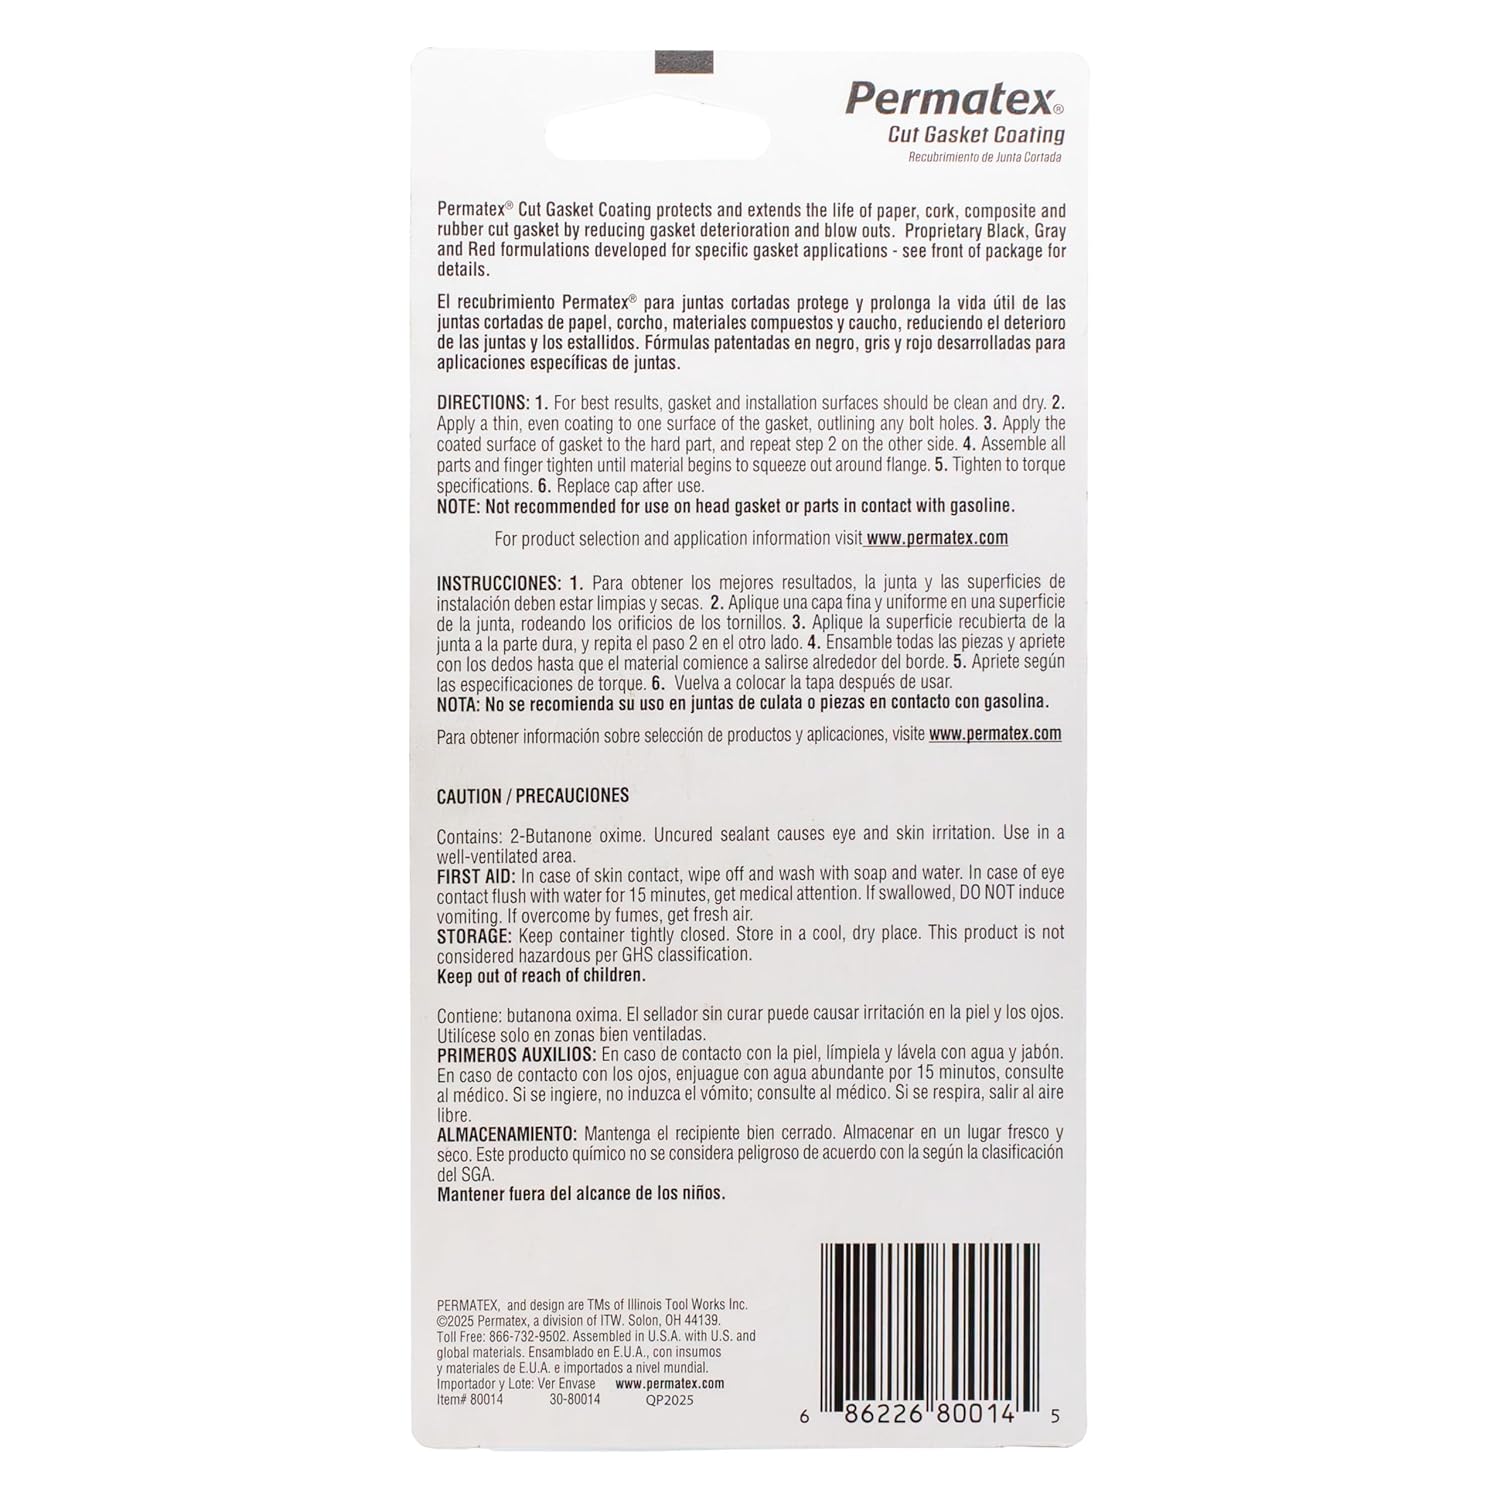
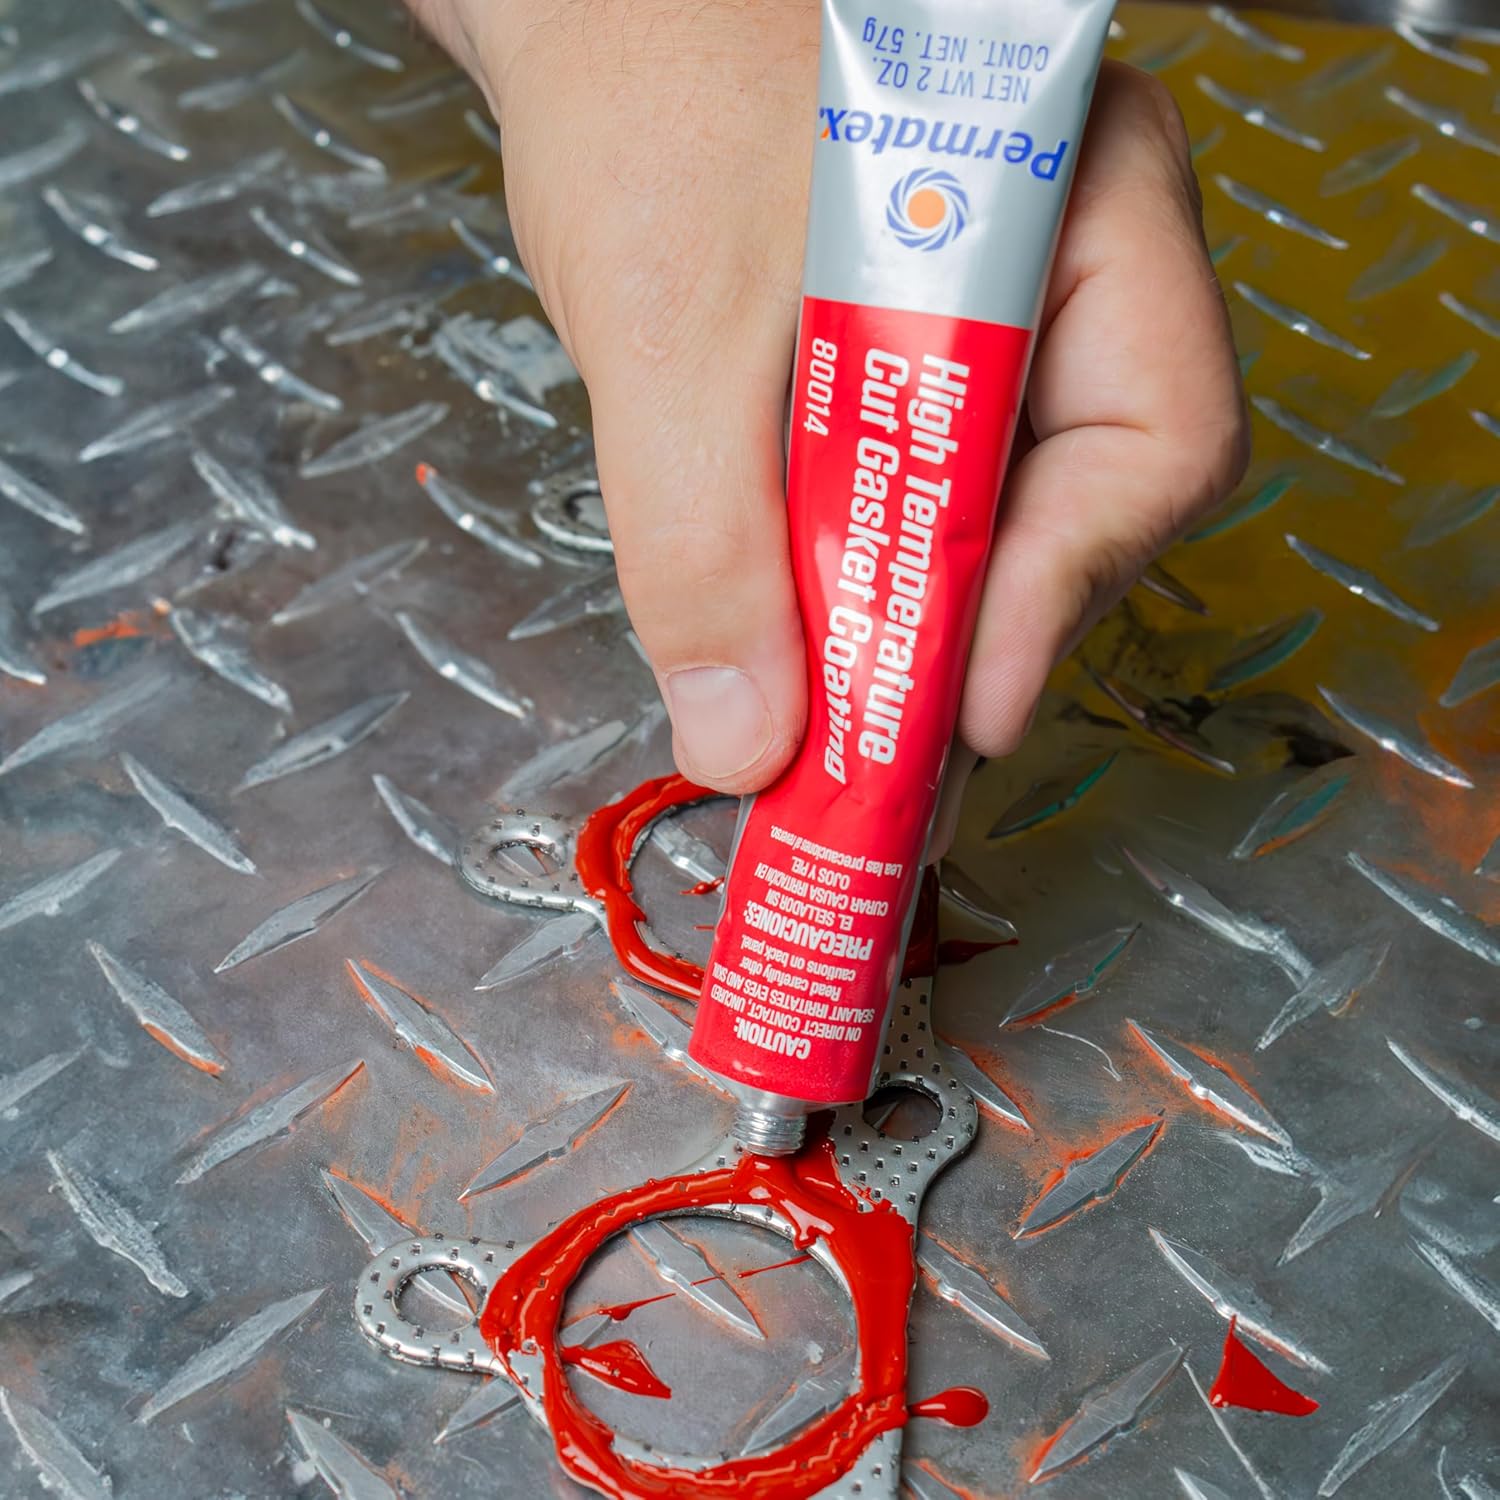
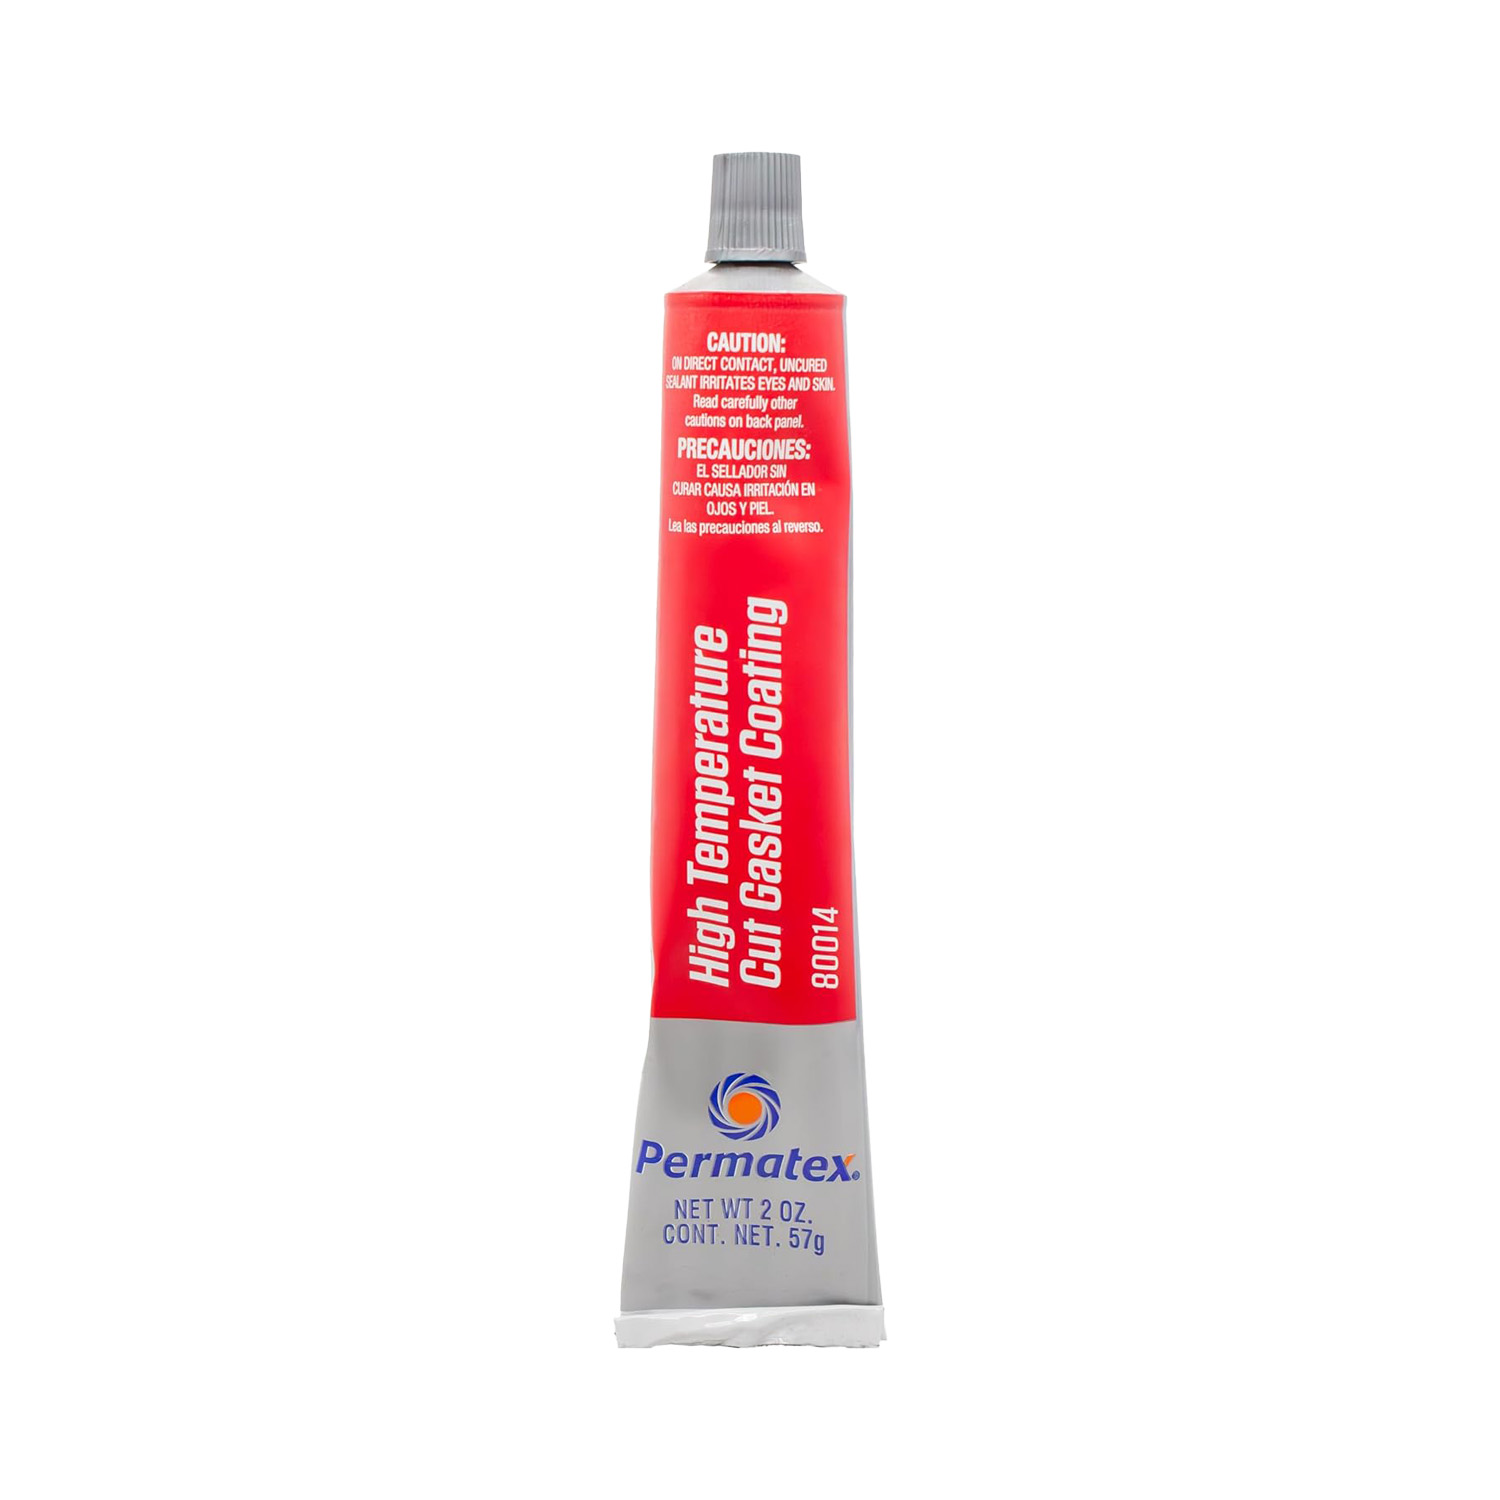
Permatex Cut Gasket Coating protects and extends the life of paper, cork, composite and rubber cut gaskets by reducing cut gasket deterioration and blow outs. Proprietary Black, Grey and Red formulations developed for specific cut gasket applications. This material cures with exposure to moisture in the air to form a tough, flexible, silicone coating. This product will resist aging, weathering, and thermal cycling without shrinking or cracking.
• Exhaust Manifolds
• Exhaust Header and Gaskets
• Turbo charger gaskets
• Compressors
Your one-stop shop for all trading needs
Your one-stop shop for all trading needs
Copyright © 2025 Una Eco Trading, All rights reserved.
Copyright © 2024 UNA General Trading, All rights reserved. Powered by Insprago
WhatsApp us


