1. Remove all previous material from mating surfaces. Permatex Gasket Remover is recommended for most materials.
2. For best results, clean and dry all surfaces with a residue-free solvent, such as Permatex Brake and Parts Cleaner.
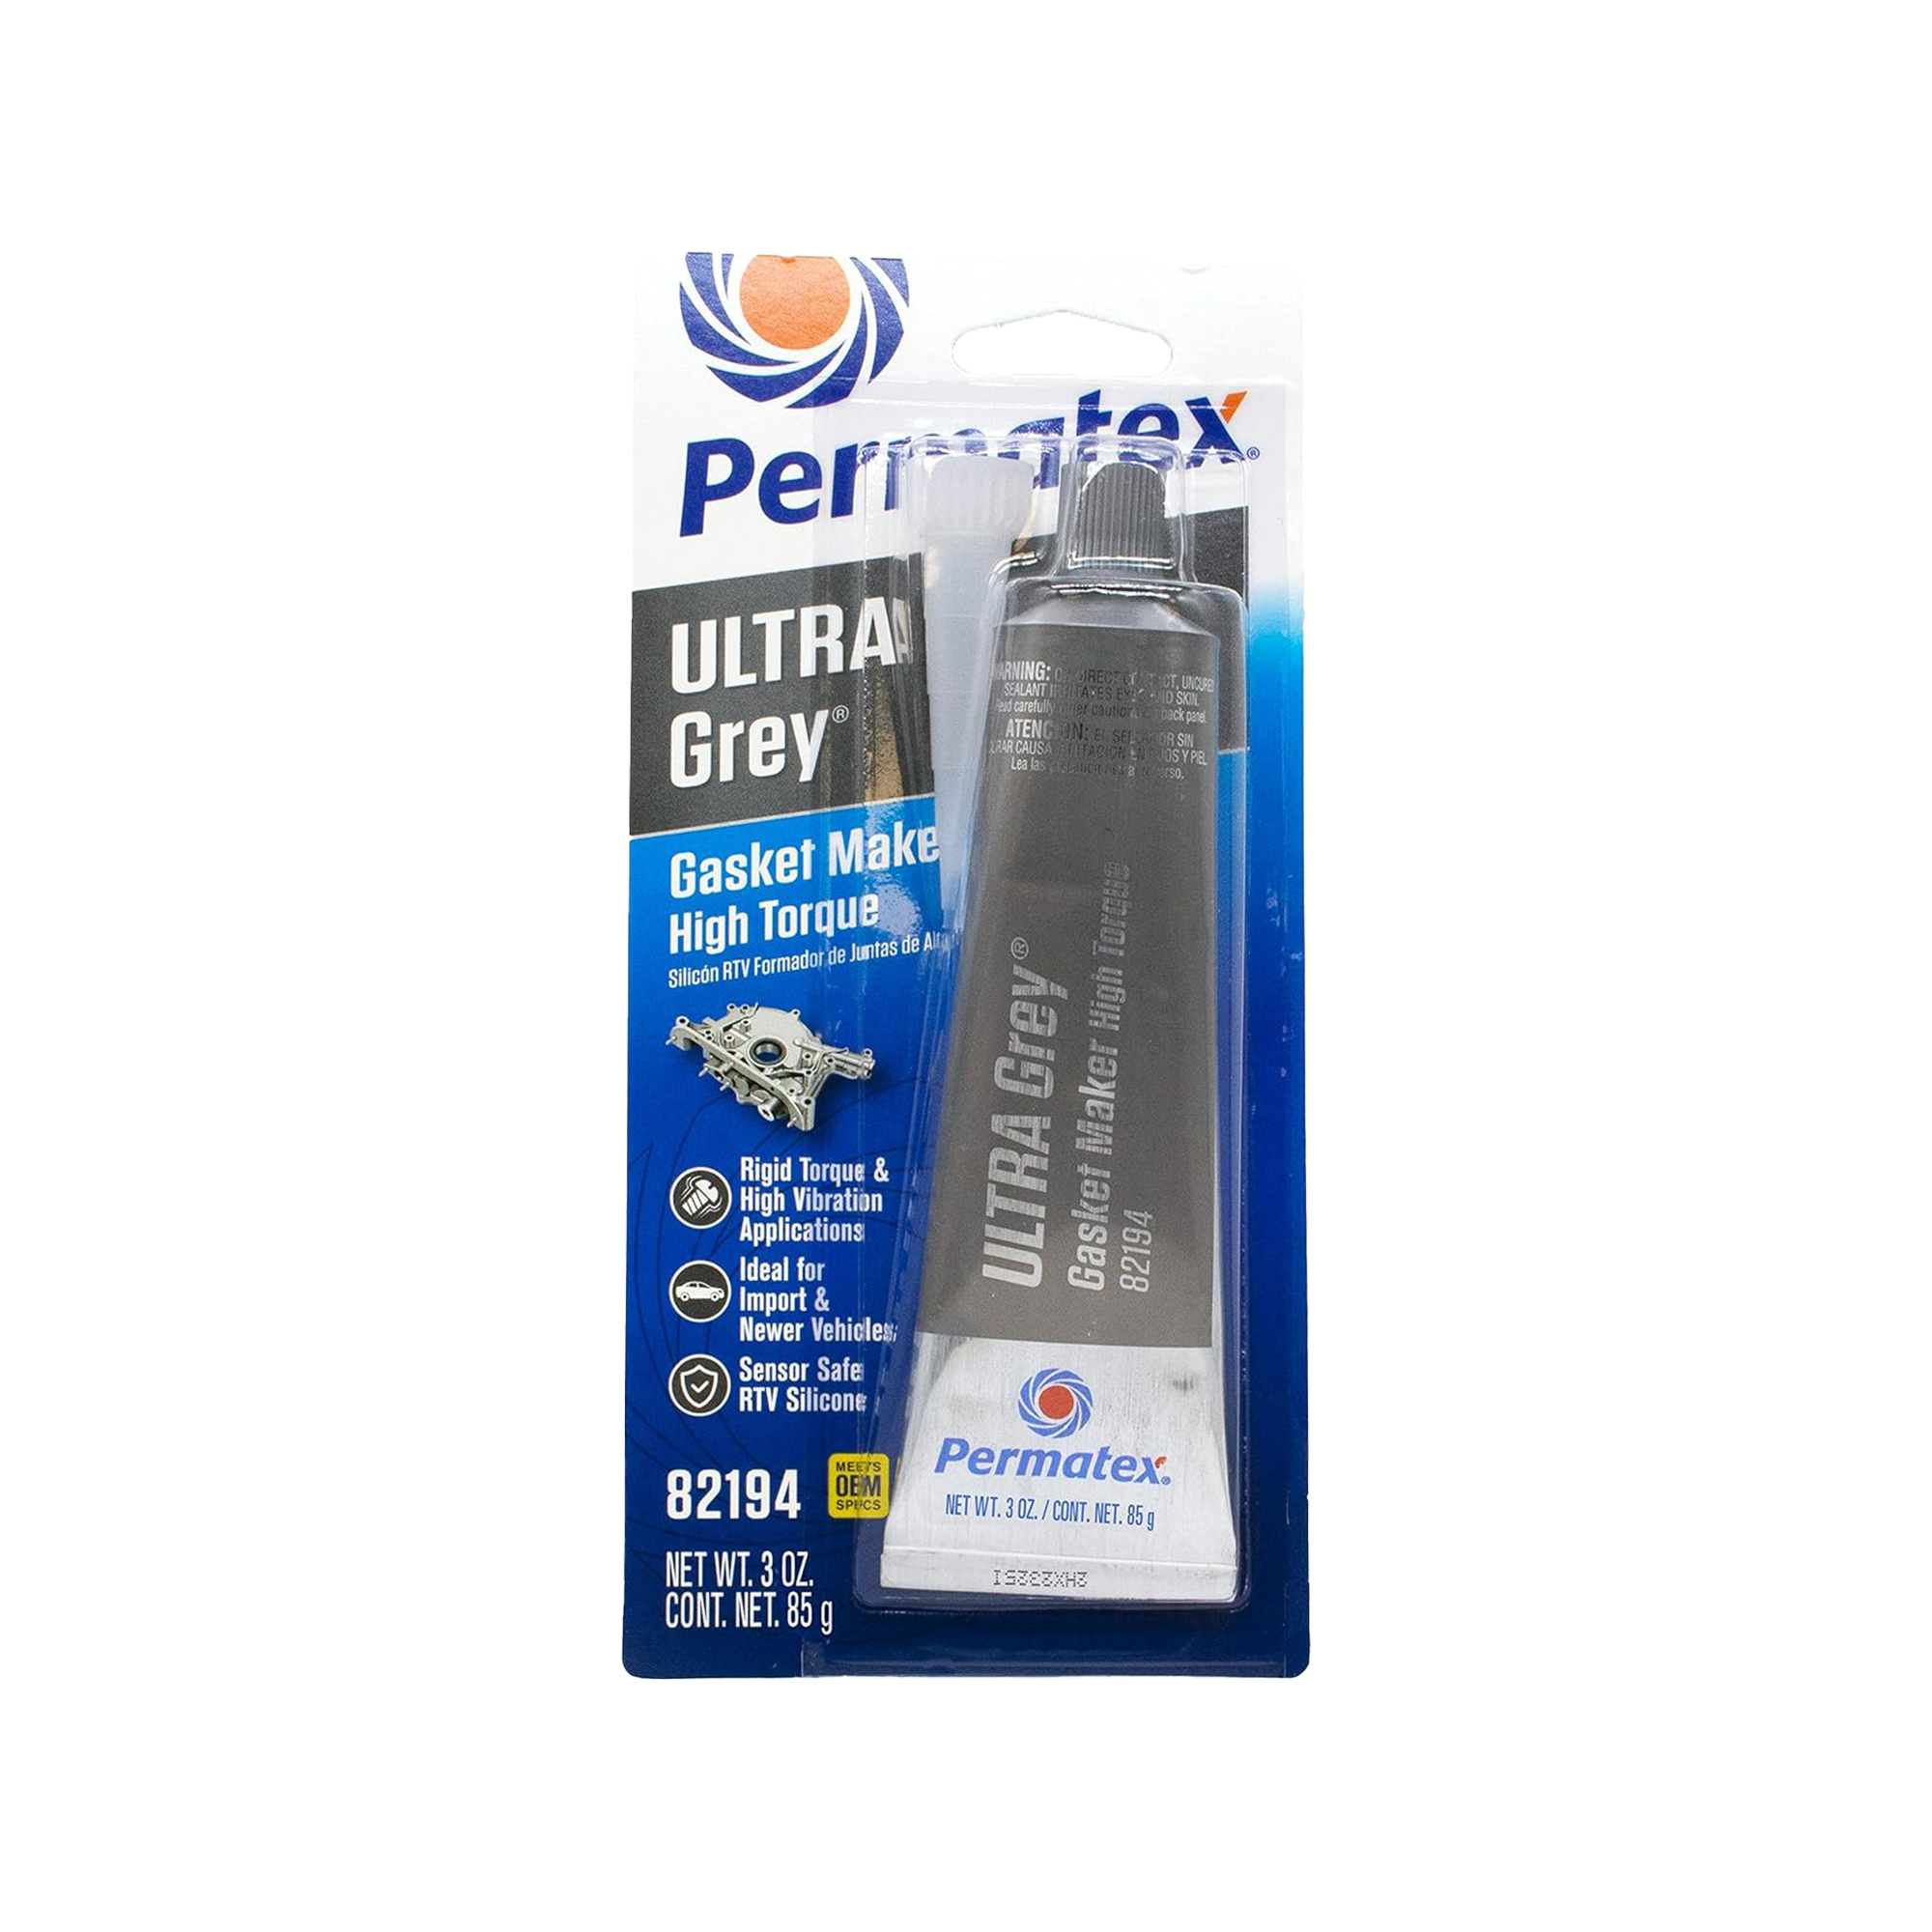
3. Cut nozzle to desired bead size, 1/16“ to 1/4“ in diameter. An 1/8” bead is usually sufficient for most applications.
4. Remove cap, puncture tube or cartridge seal and attach extension nozzle.
5. Apply a continuous and even bead of silicone to one surface, first tracing the internal areas of the gasket configuration, then all surrounding bolt holes as shown below:
6. Assemble parts immediately while silicone is still wet. Secure or tighten to recommended torque specs.
7. Re-torque will not be necessary after the product has cured.
For assembly as a gasket dressing
1. Repeat steps 1 through 4 as in previous section.
2. Apply a thin film of silicone to one surface to be sealed.
3. Place the pre-cut gasket onto silicone film.
4. Apply a second thin film to pre-cut gasket surface.
5. Remove any excess and assemble parts immediately. Note: Product is not recommended for use as a cylinder head gasket or head gasket sealant.
Instructions for PowerBead
1. Clean and dry all flange surfaces to be sealed.
2. Remove black cap from top of extension nozzle.
3. Turn nozzle extension one complete turn (360) counterclockwise.
4. Depress finger trigger and apply a continuous 1/16 inch to 1/8 inch PowerBead to one surface.
5. Assemble parts immediately while silicone is still wet.
6. Finger tighten flange only until material begins to seep out the sides of the flange.
7. Allow to set for at least two hours and re-torque at least one quarter to one half turn.
8. For best results, allow to cure overnight.
9. To close, turn extension nozzle clockwise until tight (about one full turn). Wipe off excess material from nozzle and replace black cap.